[Proven Guide] How to Downgrade macOS Sonoma to Ventura
 Jerry Cook
- Updated on 2025-05-27 to iOS 17
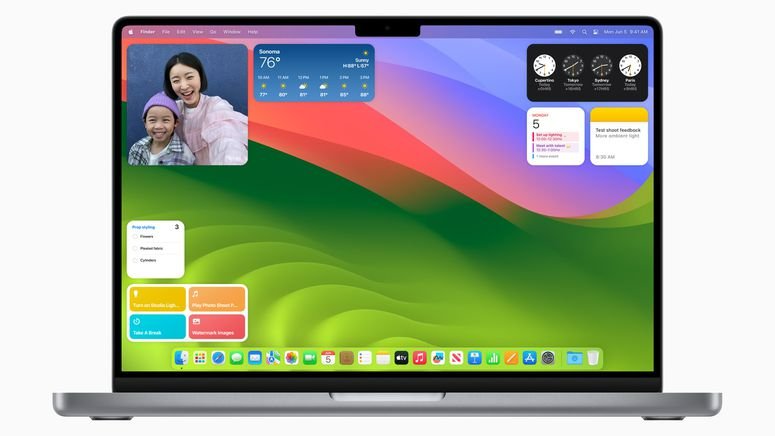
Are you struggling with many problems and bugs on the latest macOS Sonoma update and want to revert back to Ventura? Downgrading your operating system can be a tricky process, but don't worry - we've got you covered.
In this article, we'll show you how to downgrade macOS Sonoma to Ventura step-by-step so that you can enjoy using your MacBook once again. Let's get started.
- Part 1. How Do I Downgrade My Mac OS Sonoma without Data Loss
- Part 2. How to Downgrade macOS Sonoma to Ventura with Time Machine
- Part 3. How Do I Downgrade My Mac without Time Machine
- Part 4. How to Downgrade macOS Sonoma to Ventura with Ventura Bootable Installer
- Part 5. How to Downgrade macOS Sonoma to Ventura with Macintosh HD - Data Loss
- Part 6. People Also Ask about Downgrade macOS Sonoma to Ventura
Part 1. How Do I Downgrade My Mac OS Sonoma without Data Loss?
If you're looking for a way to downgrade macOS Sonoma without losing data or using Time Machine, UltFone iOS Downgrade Tool is an excellent option.
With its comprehensive set of features and user-friendly interface, this software can efficiently downgrade macOS Sonoma to Ventura free and fix over 200 different macOS problems while preserving your files and personal information.
Plus, it's easy to use even if you're not technologically savvy. Let’s take a look at some of the features of UltFone iOS Downgrade Tool.
- Free to downgrade macOS Sonoma to Ventura without losing data or using Time Machine.
- Fix over 200 different macOS issues, including app crashes, installation errors, and network connectivity problems.
- Repair booting issues and re-install missing drivers for smooth system performance.
- User-friendly interface with step-by-step instructions for easy operation.
- Supports multiple versions of macOS, including Sonoma, Ventura, and Big Sur.
- Compatible with both Intel-based Macs and M1 Macs.
Here is how to downgrade Sonoma to Ventura using UltFone iOS Downgrade Tool:
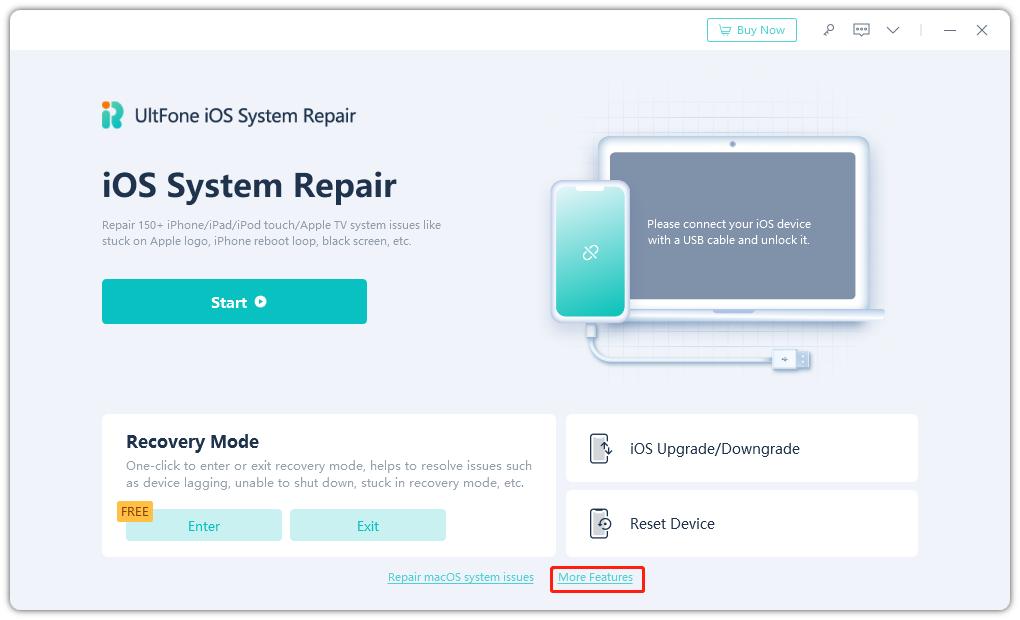
- Step 1Connect both of your Mac devices and launch UltFone iOS Downgrade Tool on your computer. Click "More Features" at the bottom left corner of the interface.
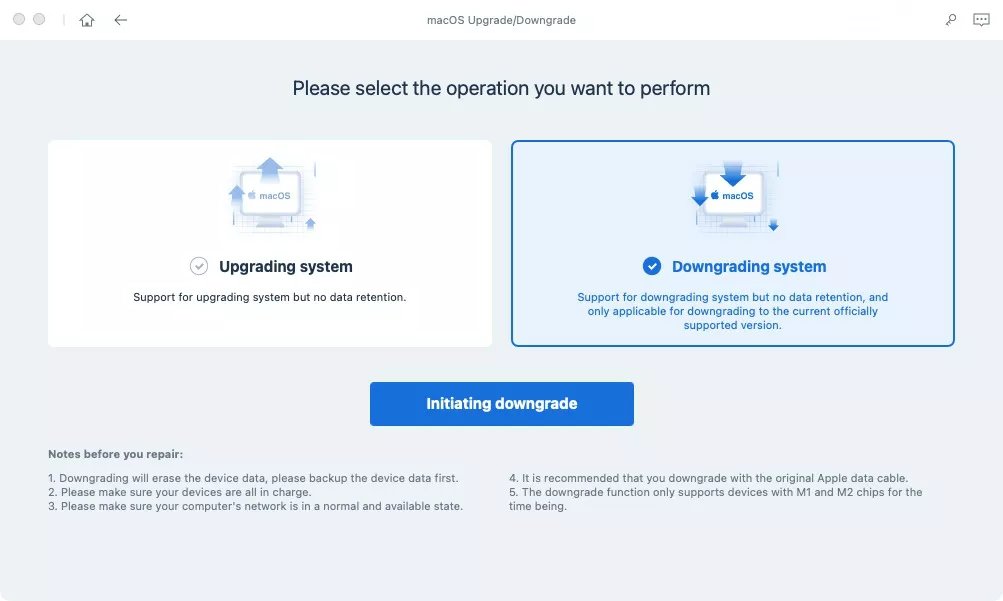
- Step 2Select "Downgrading System" mode, regardless of whether you're running a beta or final version. Click the relevant button.
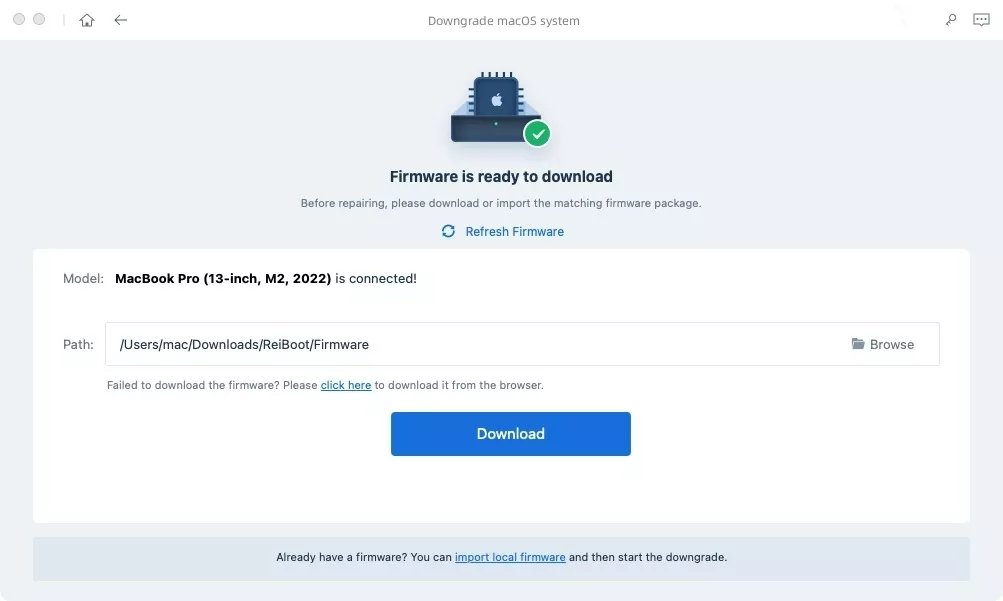
- Step 3The software will automatically detect your macOS version and suggest downgrade options. Download the firmware package by clicking "Download."
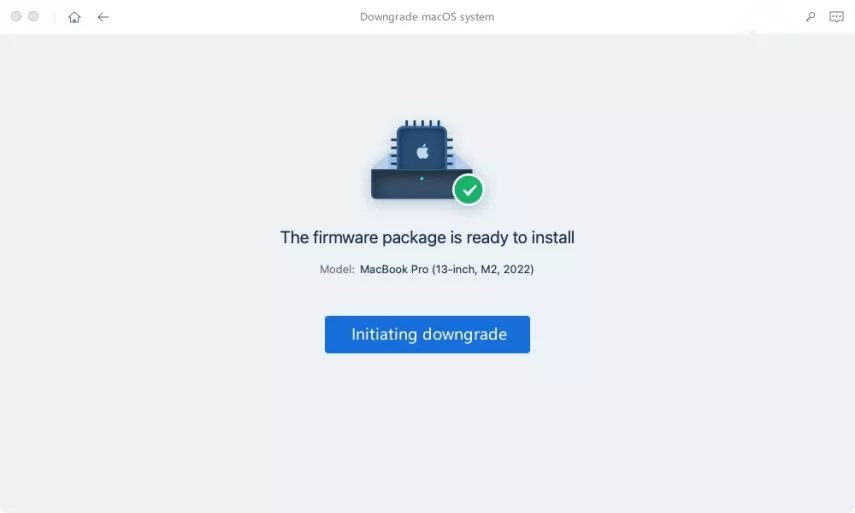
- Step 4If ready, click “Initiating Downgrade”.
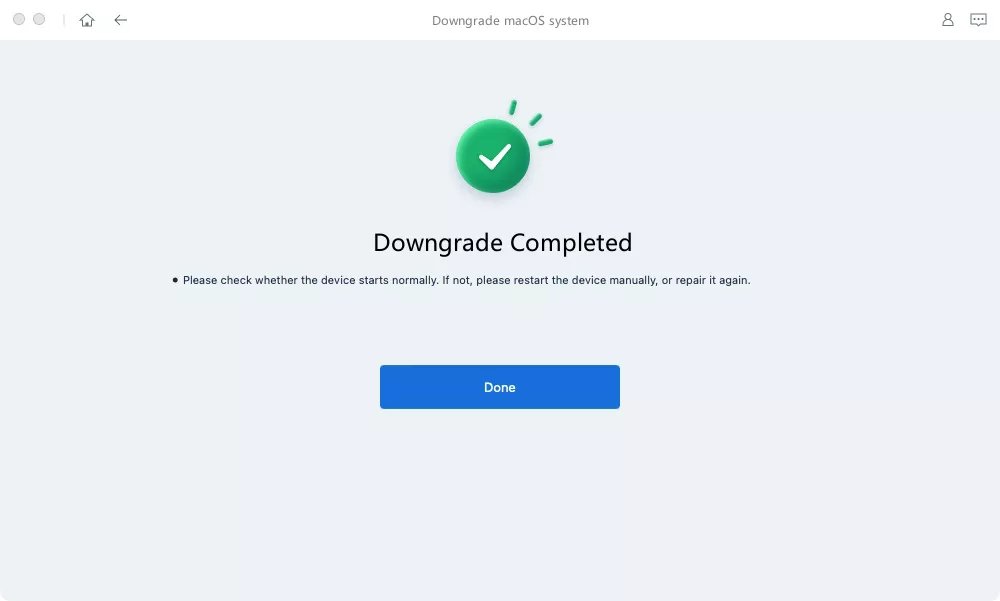
- Step 5During program execution, wait patiently while ensuring that devices remain connected until macOS has been successfully downgraded. Wait for a moment, your mac have been successfully downgraded from macos.
Part 2. How to Downgrade macOS Sonoma to Ventura with Time Machine
If you prefer to downgrade mac OS Sonoma to Ventura using Time Machine, the process can be straightforward. With Time Machine backup, it's possible to return your Mac back to a previous operating system without losing files or settings. Here is how to safely downgrade macOS:
- 1. Establish a Time Machine backup before upgrading to Sonoma.
- 2. Connect your Mac with the Time Machine backup disk.
- 3. Restart your computer and hold down Command and R keys to enter Recovery Mode.
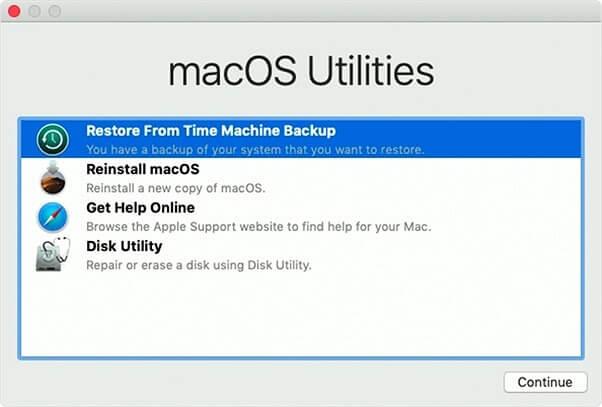
- 4. In Recovery Mode, go to "Utilities" and select "Restore from Time Machine Backup."
- 5. Select the appropriate disk where you store the Time Machine backups, then click Next.
- 6. After selecting the correct backup containing Ventura OS components, click on Continue.
- 7. Follow the on-screen instructions provided by macOS for restoring your system from the desired backup file.
- 8. Once complete, restart your device, after which point it should automatically revert back to Ventura once rebooted. This procedure is similarly applicable when downgrading macOS Ventura or newer OS versions.
Part 3. How Do I Downgrade My Mac without Time Machine
If you don't have a Time Machine backup at hand or it's not functional, don't worry. Follow the below steps for reverting from macOS Sonoma to Ventura using the macOS recovery method.
Before getting started, make sure you have a steady internet connection and either a wired keyboard or a working built-in keyboard available. Here is how to downgrade from macOS Sonoma:
- 1. Power off your Mac computer.
- 2. Turn on your device and press one of three specific keyboard combinations until the Apple logo appears.
- 3. Command + R will trigger reinstallation of the latest supported version of macOS installed on your Mac.
- 4. Option + Command + R initiates updating to the latest compatible version of macOS.
- 5. Shift + Option + Command + R rollbacks back to original factory settings, those being nearest to that OS currently available when initially shipped out.
- 6. Key in your credentials (if prompted), then click Continue, followed by Next.
- 7. From the available options, choose 'Reinstall macOS,' then click Continue yet again.
- 8. Observe and follow on-screen prompts. Select appropriate disk details, then proceed with recommended installation processes.
Part 4. How to Downgrade macOS Sonoma to Ventura with Ventura Bootable Installer
Another method to downgrade from macOS Sonoma to Ventura is by using a Ventura Bootable Installer. This allows you to perform a clean installation of Ventura and downgrade with ease. To use this method, follow the steps below:
- 1. Create a bootable USB or external storage device with the Ventura OS installer.
- 2. Restart your Mac and hold down the Option key until Startup Manager appears on the screen.
- 3. Plug in the bootable drive made earlier into your computer.
- 4. Choose the Ventura Bootable Installer as your startup disk within Startup Manager, then select Continue prompting the booting process.
- 5. Adhere closely to all subsequent instructions presented on-screen from the macOS system prompt and proceed systematically through recommended settings till eventually asked about preferred installation options.
- 6. Click “Install,” then follow provided prompts to select an appropriate destination disk for installation before proceeding.
- 7. Your computer will reboot after completing installation.
Part 5. How to Downgrade macOS Sonoma to Ventura with Macintosh HD - Data Loss
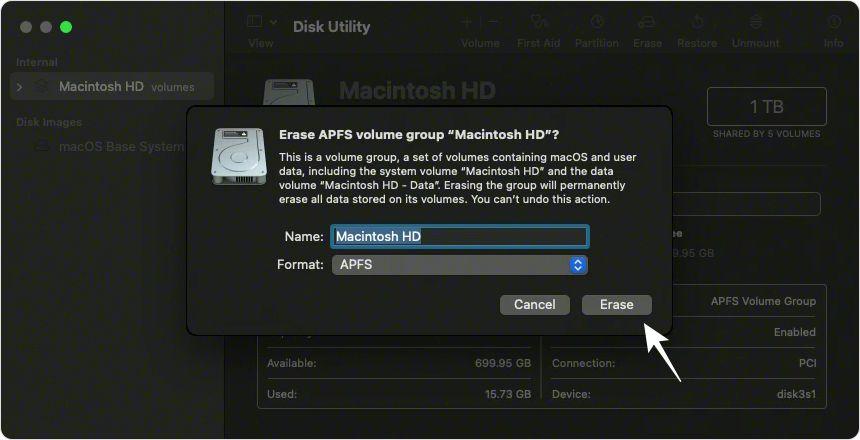
Before starting the downgrading process from macOS Sonoma to Ventura, ensure you've backed up all necessary data since the System Volume (Macintosh HD) must be formatted during this procedure.
- 1. Connect an external storage device containing your backup.
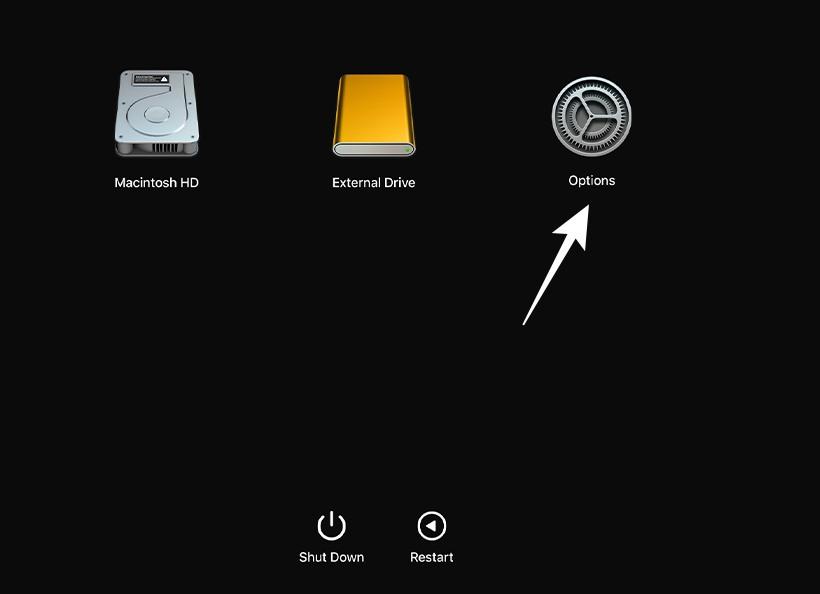
- 2. Next, restart your computer. M1 or M2 models should press the Power button while booting up, while Intel users must press Command+R hotkeys simultaneously. You'll see options displayed on the screen before eventually selecting “Options” and then continue navigating forward.
- 3. At this point, Disk Utility appears on the screen, in which case choose disk space labeled as System Volume [Macintosh HD], after which select the "Erase" option followed by clicking 'Erase Mac,' confirming action when prompted, prior to proceeding with a subsequent Restart.
- 4. Upon reboot from Recovery Assistant mode, prepare a network connection of some form, either via WiFi or Ethernet cabling, as required.
- 5. Proceed with activation of Mac within the assistant interface & click 'Exit,' entering into the new Recovery Mode once again.
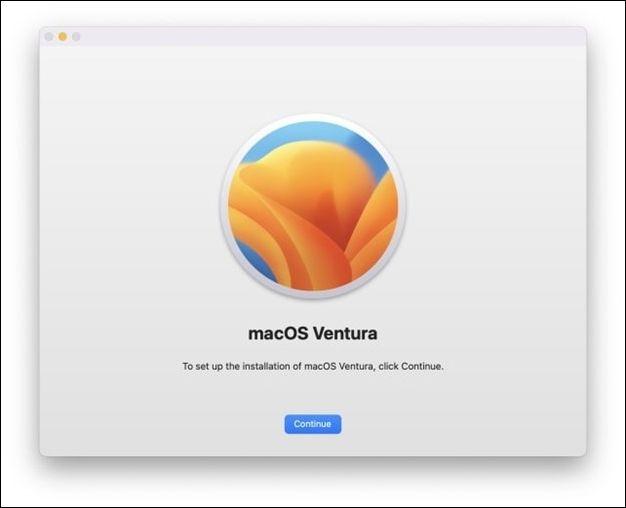
- 6. Opt for Reinstall macOS Ventura seen this time via get it done effortlessly through the setup wizard that follows such that it installs onto System Volume [Macintosh HD].
- 7. Read and accept the license Agreement Terms and Conditions, then accept once again, and hit Continue.
- 8. You will be asked below option is available - choose the target drive for macOS installation - continue following the prompts provided through Completion till macOS is successfully installed on the Macbook.
Part 6. People Also Ask about Downgrade from Sonoma to Ventura
Q1: Is it OK to downgrade macOS?
It is possible to downgrade macOS 14, but it's important to consider the reasons why you want to do so. If you're experiencing issues with the latest version and need to return back for a more smooth user experience – then yes, downgrading may be a viable option.
Q2: How stable is macOS Sonoma Developer Beta?
Users should absolutely avoid installing the beta version of macOS Sonoma on their main Mac because they will almost probably have stability problems. These include unwelcome MacBook battery drain, sporadic system freezes when starting and stopping particular apps, and other performance issues.
Final Word
After reading this article, you may learn how to downgrade from macos sonoma and how to safely downgrade macos. Downgrading macOS from Sonoma to Ventura can be completed through several methods, each with its own unique advantages.
We recommend you use UltFone iOS Downgrade Tool because it is a safe and user-friendly tool to help you for Sonoma downgrade effectively.


