iTunes 0xe80000a/0xe8000084 Error 'Could Not Connect to This iPhone'
 Jerry Cook
- Updated on 2021-05-31 to Fix iTunes
If you have been using iTunes for a while now, coming across error 0xe80000a might not be new to you. This iTunes error can occur while connecting iPhone X, XS, XR, iPhone SE, iPhone 8 series, iPhone 7 series, iPhone 6 series, iPhone 5S, iPad to your Windows 10 PC. You may come across the same error at times when iTunes does not connect to iPhone. So, if you are someone who has been clueless when your PC greeted you with “iTunes could not connect to this iPhone. An unknown error occurred (0xe80000a)”, this article will help you in resolving the issue in the easiest ways.

- Part 1: Potential Reasons That Cause Error 0xe80000a/0xe8000084
- Part 2: 6 Solutions for iTunes Could Not Connect to This iPhone 0xe80000a/0xe8000084 Error
Part 1: Potential Reasons That Cause Error 0xe80000a/0xe8000084
So, what can cause the error 0xe80000a or 0xe8000084 to occur? Here are some reasons listed.
- A damaged cable or USB port is the most common reason for this error. If so, consider using another cable or get the USB port checked.
- Having an incompatible or non-updated version of iTunes installed on your PC also leads to this error.
- Having corrupted Windows system files.
Part 2: 6 Solutions for iTunes Could Not Connect to This iPhone 0xe80000a/0xe8000084 Error
After digging out the reasons of iTunes error 0xe80000a/0xe8000084, let's dive into the fixes for how to solve "iTunes could not connect to this iPhone" error.
Solution 1: Go for Updates
Updating should always be on the top list of troubleshooting whenever you get errors like this. And hence, we would recommend you to do some updates in the first place to fix error 0xe80000a/0xe8000084. Here is how!
1.1 Get your Windows Updated
To update your Windows:
Step 1: Go to PC “Settings”.
Step 2: Search for “Update and Security”.
Step 3: Check for any pending updates by clicking on “Check for Updates”

Step 4: If you see any available updates, proceed with it to get the latest Windows 10 version.
1.2 Get Your iOS Updated
To update your iOS:
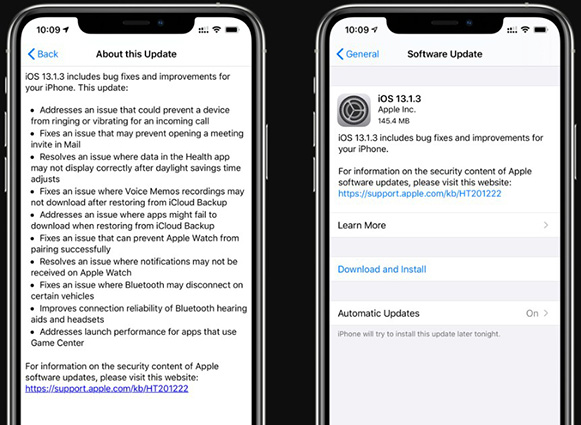
Step 1: Go to the “Settings” on your iPhone.
Step 2: Select “General” and go to “Software Update”.
Step 3: Click on the “Download and Install” button if you see any pending and available updates.
1.3 Get Your iTunes Updated
To update your iTunes:
Step 1: From the “Start” menu, open the “Apple Software Update”.
Step 2: Proceed with any updates if available.

Solution 2: Get Antivirus Disabled
At times, any security software or third-party antivirus may result in a connectivity issue with your iTunes software and iPhone. To check this issue, uninstall or temporarily pause your antivirus along with the security software in the Windows PC. Once done, connect your computer and your iPhone/iPad to each other by replugging the connector cable. See if the issue still persists.
Solution 3: Reset Location and Privacy Settings
Another reason for the iTunes 0xe80000A is the corrupted location and privacy settings on your iPhone or iPad. These settings have the trust permissions that you provided your devices with. To fix this error, reset these settings. For resetting, follow the below-given steps:
Steps 1: Open the “Settings” App on your iPhone. Go to the “General” menu and then tap on the “Reset” menu.

Step 2: Tap on “Location and Privacy”. On getting the Reset confirmation, tap on it and let the process be completed.

After this, your privacy settings have been reset completely. On connecting again, proceed with what the prompt pop up screen on your iPhone says.
Solution 4: Uninstall and Reinstall iTunes
Sometimes incorrect or corrupt downloads using iTunes can cause this error. To solve this, uninstall iTunes and download it again.
If You are a Window 10 User:
You need to manually remove the main files on iTunes. Which component files should you remove?
- Apple Application Support
- Apple Mobile Device Support
- Apple Software Update
- Bonjour
Then click on “Start”, go to “Settings”, tap on “Apps and Features” and find the above-listed features.
If You are a Mac User:
Step 1: Go to the “Applications” folder and right-click on the “iTunes.app file”.
Step 2: Click on “Get Info”.
Step 3: Tap on the “padlock icon”
Step 4: Enter your password for Admin.
Step 5: For your Sharing and Permissions settings, change it “everyone” to Read and Write.
Step 6: Click on the desktop iTunes icon and drag it to trash.
Step 7: To launch the app, type “Activity Monitor” in Spotlight.
Step 8: Look for “iTunes Helper” and remove it.
Step 9: Go to “Library”. Choose “Preferences” and remove the files that have “com.apple.iTunes” in the beginning.

Solution 5: Reset Lockdown Finder
The Lockdown folder has different security certificates that are necessary to communicate with other iOS devices that have been connected successfully. This folder is created by iTunes as a special directory. This solution is similar to resetting the trust permissions for your iPhone.
Step 1: On your Windows PC, press “Windows+R” and the Run box will open. In the open field in the box, type “%ProgramData%”. Click “OK”.

Step 2: Double-click on the folder named “Lockdown” on the file explorer window.

Step 3: Right-click on the “Lockdown” folder in the Apple directory and then “Rename”.

Step 4: Rename it to “Lockdown.old”.

Step 5: Relaunch iTunes, tap on “Trust” on being prompted. A Lockdown folder from the scratch will be created. It will also contain all the security certificates that are required by the devices to communicate between themselves.
Solution 6: Use a Professional Tool to Repair iOS System
If the above steps are not enough to fix itunes error 0xe80000a, it is time that you seek professional help and get a definitive solution. UltFone iOS System Repair is your one-stop solution for these errors. Many problems like disabled iPhone, apple logo, iPhone stuck in recovery mode, black or white screen, frozen screen, boot loop can be easily fixed with this tool.
Getting your iOS device fixed without hampering the data can get tedious at times. Neither less to say, there are always chances of getting things complicated down the line. But with UltFone iOS System Repair, you can rest assured to get your iOS device up and running in no time.
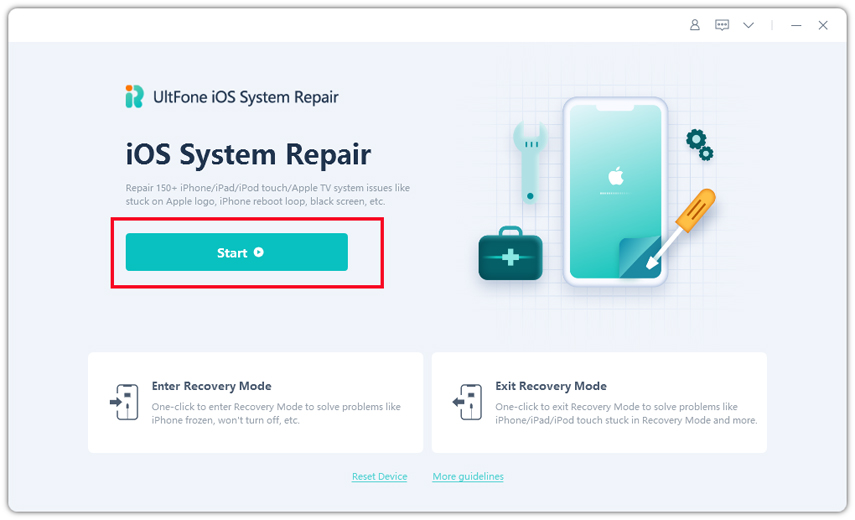
Step 1: Download the UltFone iOS System Repair. Right after you download, launch UltFone iOS System Repair software on your Windows PC or Mac. Select “Start” to enter into the system repair module.
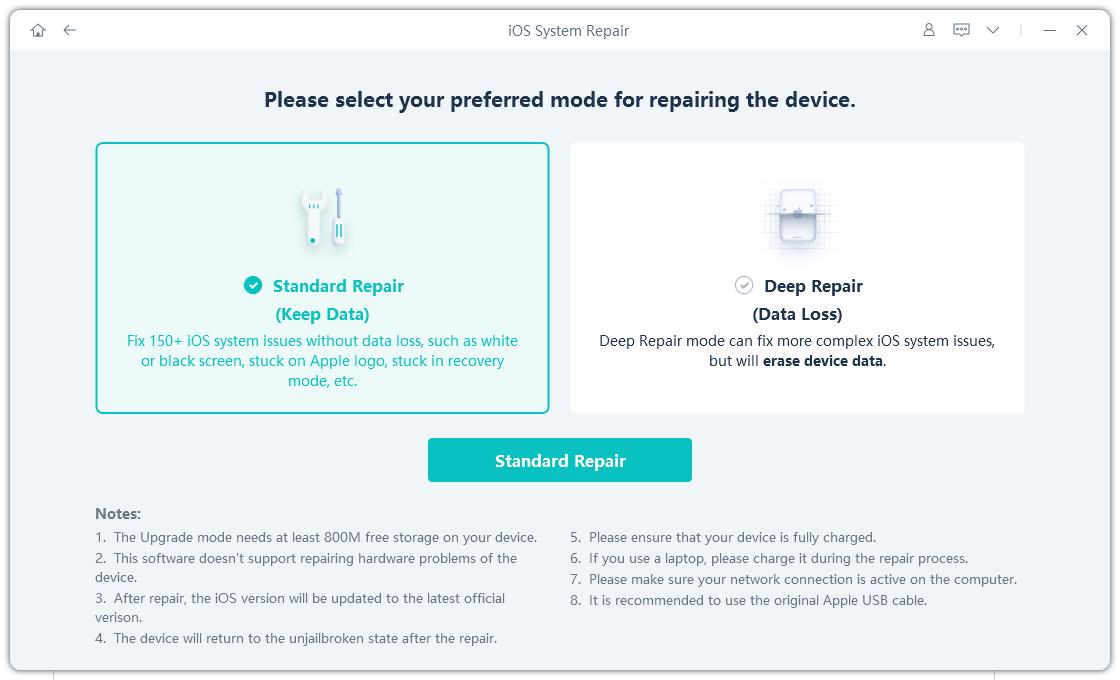
Step 2: Choose Standard Repair. Within the welcome screen, choose “Standard Repair” to proceed further.
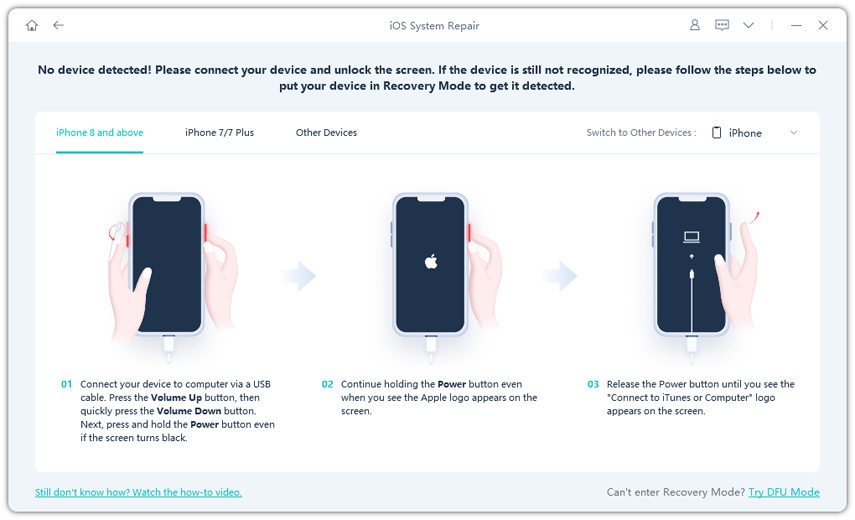
In case your device is not detected, you can always go through the on-screen guide. It can help you to detect your device manually.
Step 3: Download the Firmware Package. Before you perform the system repair, there is an option to “Download” the firmware. UltFone will ensure that it automatically matches with that of your system.
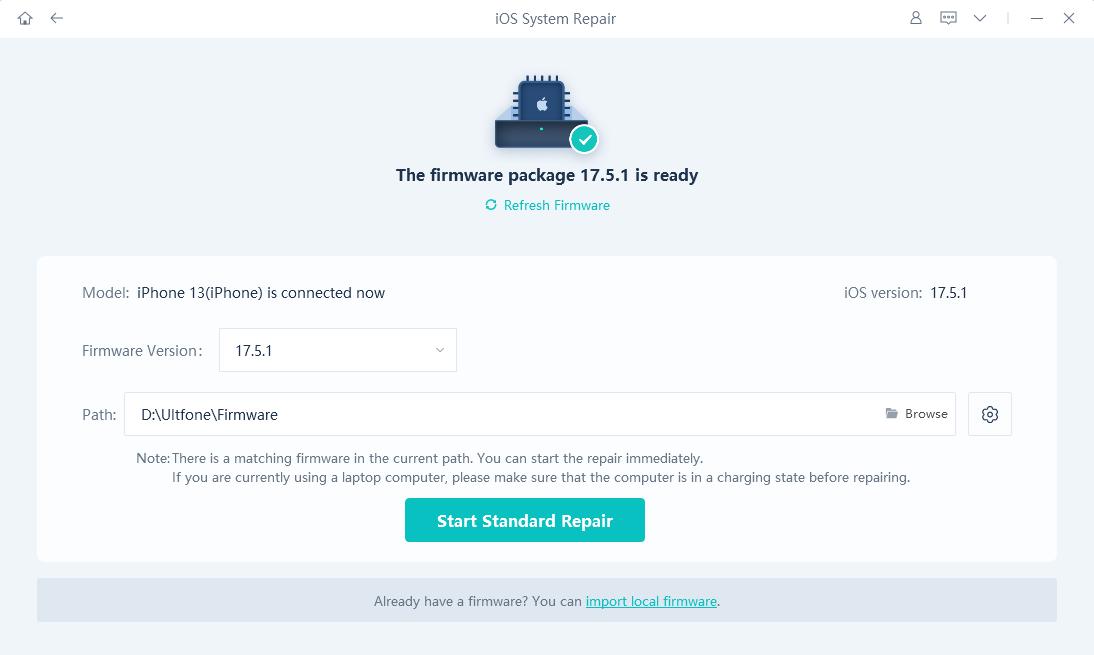
In case, you have already downloaded the firmware, you can always choose “import local firmware.”
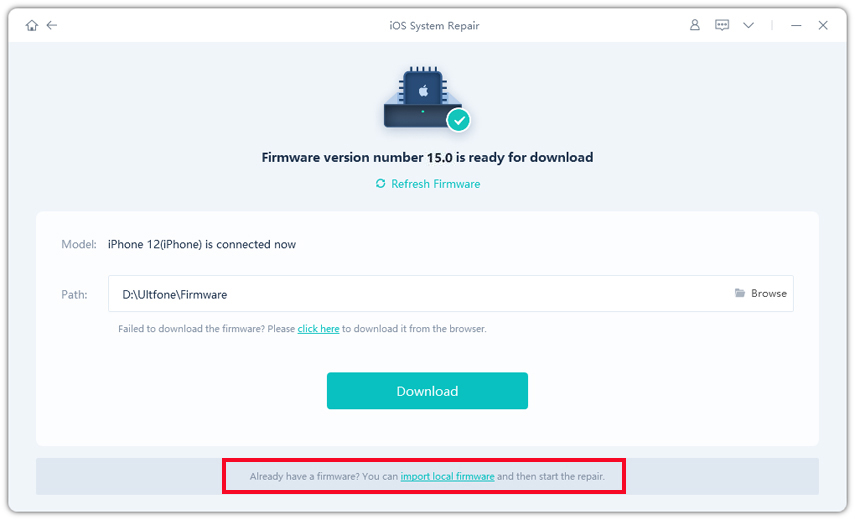
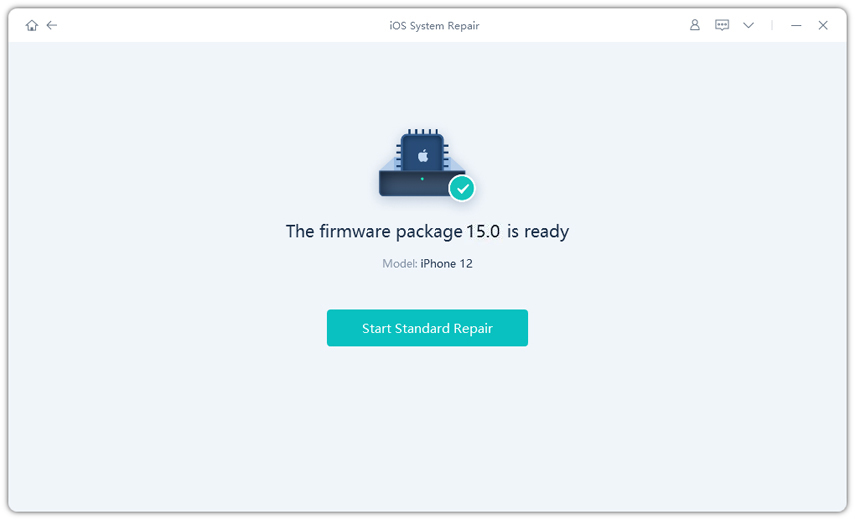
Step 4: Start with the Repair. Once your firmware is successfully downloaded, choose “Start Standard Repair.” Wait while it is in progress.
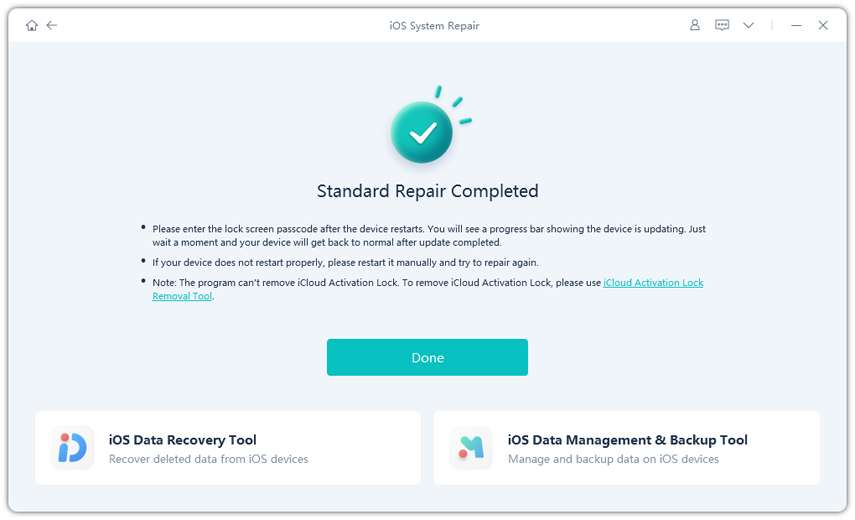
Step 5: Done with Your Repair . Once your iOS system is successfully recovered, you will be prompted with the following message.
Our words
The above article has been put together to help you solve issues when your device says “iTunes could not connect to this iPhone 0xe80000a”. Follow these simple steps to fix your device easily at home.

