Solved: This Device Was Reset. To Continue Sign In With A Google Account Bypass
 Jerry Cook
- Updated on 2024-04-19 to Fix Android
You're not alone. Many Android device users encounter this problem. If you're wondering what does this mean and why this problem happens, then you have come to the right place. Continue reading to find out. Here, we'll even walk you through how to bypass Google verification on Samsung devices and other Android devices as well.
What Is "This Device Was Reset. To Continue, Sign In With A Google Account That Was Previously Synced On This Device"?
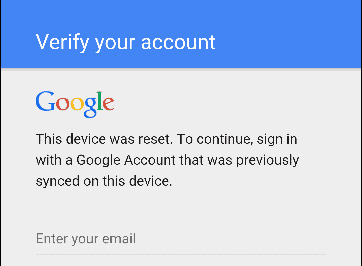
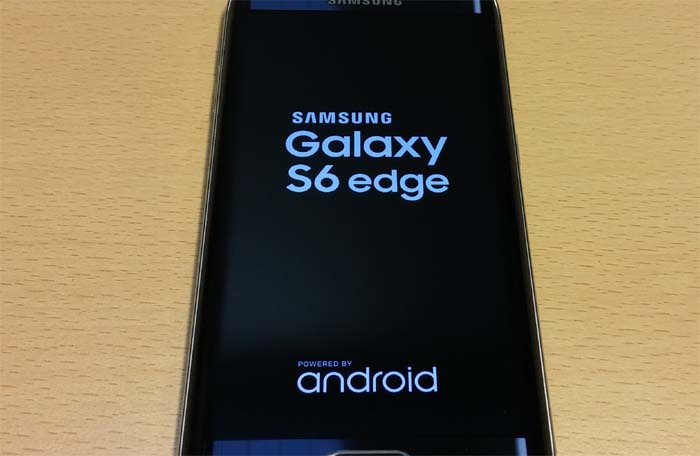
To help comprehend better about the problem - this device was reset. to continue sign in with a Google account bypass on LG/Samsung or any Android device, let’s imagine that your device is stolen or lost. It's now in hands of someone. You have set a PIN or password to lock your device but the person who stole your device performs a factory reset on your device and it becomes usable again.
In order to avoid this situation, Google came up with a new feature where performing a factory reset requires verification. This is where FRP or Factory Reset Protection (Google Verification) comes handy for users. Accessing someone's device is not an easy job as whenever you'll try to factory reset the device, you'll encounter a message that says - this device was reset. to continue, sign in with a Google account that was previously synced on this device. After that, the entire phone becomes inaccessible. Many users have reported about this issue especially those who have purchased a device from a third party and have no idea about them.
So, wondering what could be the reason for that? As mentioned before, after the Android 5.0 release, all the Android devices protection feature enables automatically when the following two things are done previously:
- Your device is signed with a Google account.
- Screen security is set to something else but swipe or none. What it means is that you can unlock the device using a password or pattern.
When the above conditions don't meet, the protection feature will be turned off automatically. Thus, if you want to give someone your device or want to perform an easy factory reset, then make sure to remove all Google accounts from the device and set the lock screen to swipe or none.
However, if you've encountered the sign in with google account that was previously synced on this device message and you don't have account id and passcode, then bypass is required.
How To Bypass This Device Was Reset. To Continue Sign In With A Google Account?
Let's now learn how to bypass Google account verification on Android. Well, we'll walk you through two solutions, so go through them and see which works for you.
- Solution 1: How to Bypass Google Verification On Samsung
- Solution 2: Bypass Google Verification On Android Through The OEM Unlocking Feature
- Solution 3: How to Remove Google Account From Android After Factory Reset By Using FRP Bypass APK
Solution 1: How to Bypass Google Verification On Samsung
To remove google account from Samsung S8 after factory reset, look no further from Tenorshare 4ukey for Android. Of course, there are some other ways to remove google account from android phone after factory reset. But, we recommend you to use 4ukey for Android as it can help you bypass Google verification on your device with just one click. Use it to delete the Samsung account with a passcode and get full control over your device without any restrictions.
Get 4ukey for Android, and follow the below steps to learn how to bypass previously synced google account on Samsung devices:
-
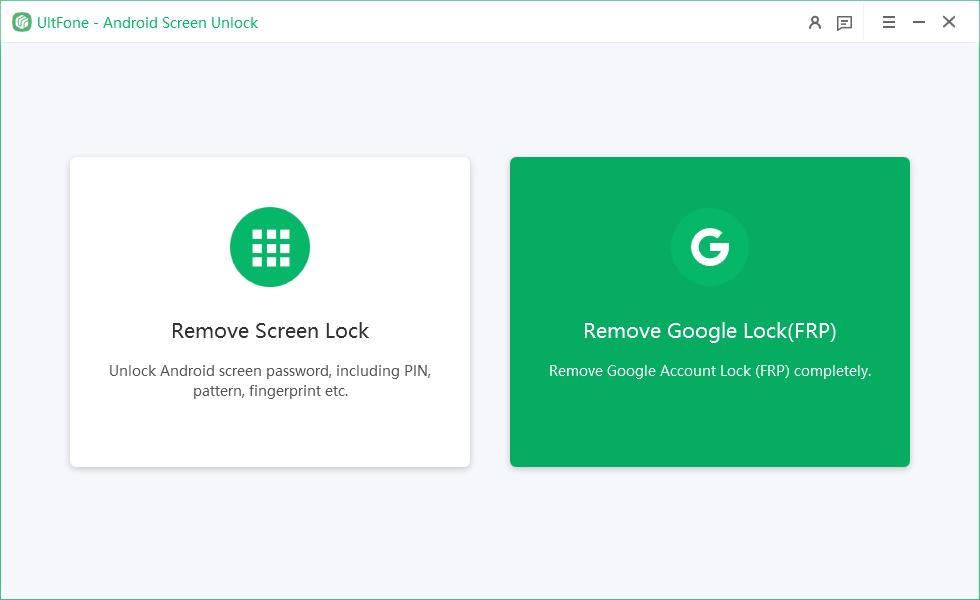
Step 1. Run 4ukey for Android and connect your Samsung device to the computer with the help of a digital cable. From the main interface, select "Remove Google Lock (FRP)".

-
Step 2. Click "Start", provide your correct device info and confirm it.

-
Step 3. Follow the on-screen instructions to enter your device in recovery mode, and let the software download the firmware package.

-
Step 4. After detecting the download firmware package, the software will begin removing the Google account from your Samsung device. In a while, you'll have full control over your device.

Solution 2: Bypass Google Verification On Android Through The OEM Unlocking Feature
The OEM unlock feature breaks an agreement between the manufacturer and the user, which even let the user perform anything on their Android device through the bootloader. It even let us implement a custom recovery on your device rather than using the default methods offered by Google. If you had the OEM unlocking feature enabled previously, then you'll be able to resolve the factory reset protect.
However, you can try the following steps that may help you learn how to bypass Google account verification after reset:
- Step 1: When you encounter an FRP page telling you to enter Google account, long-press @ on the keyboard unless a window popup.
- Step 2: Then, tap on "Google Keyboard Settings".
- Step 3: On upper-right, tap on the three-dot and choose "Help & Feedback". Select any item randomly and then press long in order to copy text. On the upper right, a web search will happen, just click on that icon and enter "Settings" on the search field.
- Step 4: Here, you will enter the Settings app, Next, go to "Developer Options" (tap on the "Build Number" seven times if you can't see "Developer Options") and then allow "OEM Unlocking".
-
Step 5: Finally, press the long "Power" button, and your device restarts. When you set up your device, you'll get "Add your account" instead of the Google Verification page. Now, you can access your phone.

Solution 3: How to Remove Google Account From Android After Factory Reset By Using FRP Bypass APK
Take advantage of FRP bypass APK app, which has helped many Android users to bypass Google sign-in option, so you can also give a try. So, follow the below steps to learn how do I bypass Google verification after factory reset using FRP bypass APK:
- Step 1: Get the FRP bypass APK through its official website and then copy the downloaded file on the USB flash drive.
- Step 2: Open your Android phone, enter your Google account id and password.
- Step 3: Connect an OTG cable through USB and the Android phone.
- Step 4: You'll see a file explorer opening on your Android device - it is the USB folder.
- Step 5: Find the FRP bypass APK file in the file manager and once locating it, install it.
- Step 6: Upon successful installation, click on open from the Development Settings option.
- Step 7: Click on the "Backup and Reset" option.
- Step 8: Click on the "Factory Data Reset" option and that's it. You have resolved the error and bypassed the Google verification.
How to Recover Lost Deleted Photos/Videos From Android SD Card After Bypass Google Verification?
If notice some videos or photos are lost from your Android SD card after bypassing Google Verification, then no worries!! Simply use UltFone Windows Data Recovery. With the assistance of this software, you can recover your lost or deleted files with ease.
Let's learn how to use UltFone Windows Data Recovery to recover files from Android SD card:
-
Step 1 First of all, you need to take an SD card out of your Android device and then connect it to the computer using a card reader. After that, run UltFone Windows Data Recovery.
-
Step 2 From the software's main interface, you need to select a location that you want to scan your lost files. In this case, it will be your connected SD card.

-
Step 3 Once you click the "Scan" button, the software will start scanning the selected location.
-
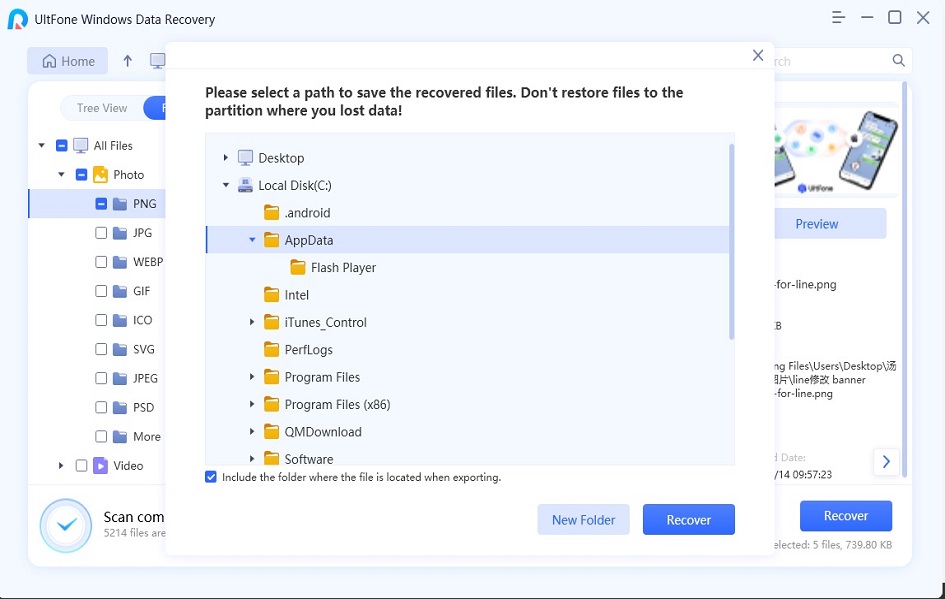
Step 4 Upon a successful scan, preview the recoverable data and select those files you want to recover. Finally, hit on the "Recover" button, specify a destination to save the recovered data and that's it.

FAQs about Google Factory Reset Protection (FRP)
1. What Is Google Account Verification Lock Or FRP Lock?
Google Verification is known as FRP or Factory Reset Protection in Android and is provided by Google from Android OS 5.0. The FRP provides an in-built security feature that you can use to protect your device and data. It is activated automatically when a Google account has been set up on the device. As mentioned earlier also, when activated and you or someone's trying to perform a factory reset of your Android device, Google verification is required.
2. How to Disable Factory Reset Protection on Android?
In order to disable Factory Reset Protection, you just need to remove the Google account before the factory data reset.
- Step 1. On your phone, go to the "Settings" app.
- Step 2. Locate the "Accounts" option.
- Step 3. Choose the Google account you want to remove and choose "Remove account".
That's it. Once removing the account, then FRP will also be disabled.
A Last Word
So, there's no need to worry if you encountered the error saying, "this device was reset. To continue sign in with a Google account bypass". As you can see that there are several ways to help you get rid of this situation and access your device. To do the job on Samsung devices with ease, we highly recommend using Tenorshare 4ukey for Android. After that, you can use UltFone Windows Data Recovery to recover lost files from Android SD card.


