How Do I Put iPhone 7 in DFU Mode?
 Jerry Cook
- Updated on 2021-08-11 to iPhone 7 Tips
All Apple devices have impeccable functioning. However, that doesn’t mean they are protected from issues like software glitches and failures. Under such circumstances, when the software of the device is severely affected, DFU mode is recommended as a solution. The iPhone 7 DFU mode allows the users to make low-level changes in the software when they run into troubles.
Some common scenarios where we have to put our iPhone in DFU mode involves downgrading the software version, jailbreaking the device, removal of the expired beta version of iOS, and fixing the device that won’t start past the Apple logo. So, in this guide, we will make you understand how to put an iPhone 7 in DFU mode without a computer and exit the mode safely.
- Part 1. How to Put iPhone 7/7 Plus in DFU Mode
- Part 2. Is My iPhone 7 in DFU Mode Properly?
- Part 3. How to Get Out of DFU Mode iPhone 7/7 Plus
Part 1. How to Put iPhone 7/7 Plus in DFU Mode
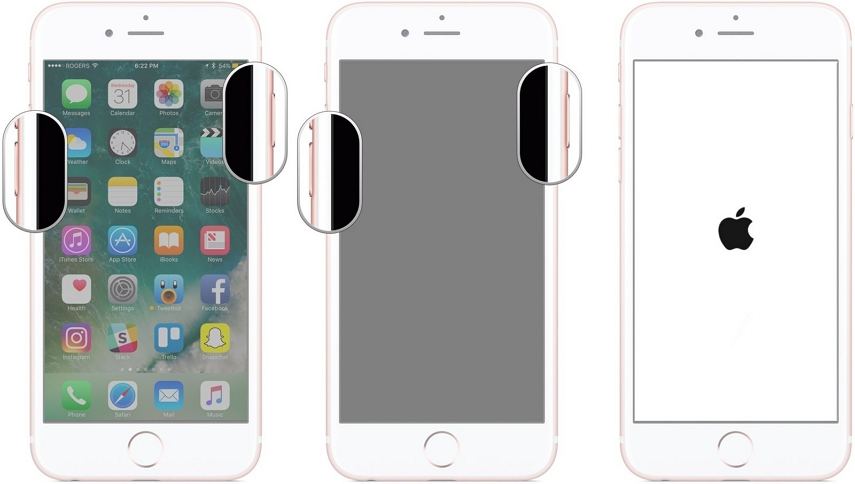
The guide for how to put iPhone 7/7Plus in DFU mode is very similar to putting your device in recovery mode. The only difference is keeping your device connected with a system in which iTunes is installed. Here are the steps you need to follow to enter the DFU mode.
- Step 1: Connect your iPhone with the computer and launch iTunes. Turn off your iPhone by pressing the power button and dragging the slider to the right side.
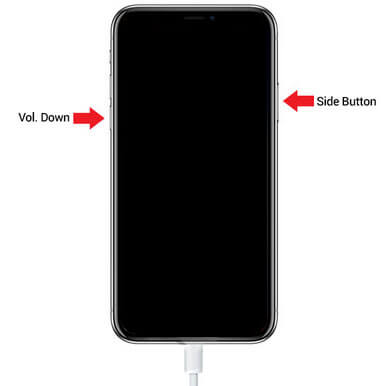
- Step 2: Once the device is turned off, press the Power button and Volume down button at the same time. Hold the buttons for 10 seconds and then let go of the Power button.
-
Step 3: Continue pressing the Volume button for 5 more seconds, and the device will enter DFU mode. Even iTunes will recognize the device in DFU mode and prompts you that a device in recovery mode is detected.

DFU mode
Part 2. Is My iPhone 7 in DFU Mode Properly?
Sometimes, users make slight mistakes while putting their iPhone 7/7Plus in DFU mode. As the process is quite complex, here are some ways that will tell you that the iPhone has entered the DFU mode correctly.
- 1. If the Apple logo appears on the screen while you are trying to enter the DFU mode, it means that you carried out the steps in the wrong way and need to start over.
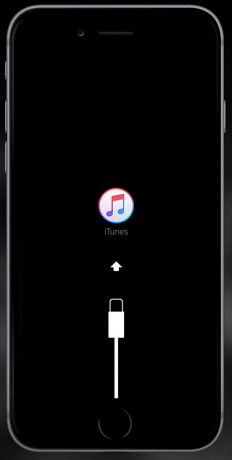
- 2. During DFU mode, the screen won’t show the iTunes logo, and if it does, then you have entered the recovery mode.
- 3. If iTunes doesn't notify you that a device is detected in recovery mode, it symbolizes that the device didn’t enter DFU mode.
- 4. In the DFU mode, the iPhone screen will be black without any icon or logo.
If you made a mistake at any point during the process, you would be able to see one of the above 4 signs. So, you can restart the device and carry out the steps once again.
Part 3. How to Get Out of DFU Mode iPhone 7/7 Plus
Along with entering the DFU mode, it is vital that you know how to get out of DFU mode iPhone 7/7 Plus as well. Luckily, there are three ways to exit the mode.
Way 1. Use buttons:
To exit the DFU mode, press the Power button and Volume down button simultaneously until you see the Apple logo on the screen. The device will restart and boot up in the usual way.
Way 2. Use iTunes (Data Loss)
Another way to exit the DFU mode on iPhone 7 plus is by using iTunes. But remember that using iTunes to exit the DFU mode will erase all data and settings. The steps are given below:
-
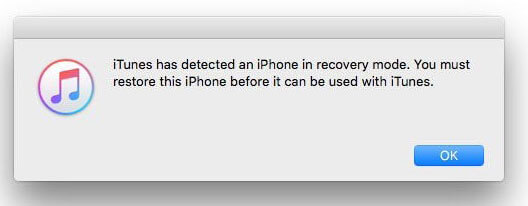
Step 1: As soon as the device enters DFU mode, iTunes will recognize the device in recovery mode. You will be prompted to Restore the device.

iTunes detect iPhone in dfu mode
- Step 2: Click on the “Ok” option and wait as iTunes finish the process. It might take a while before you can use your device again.
Way 3. Use iOS System Repair
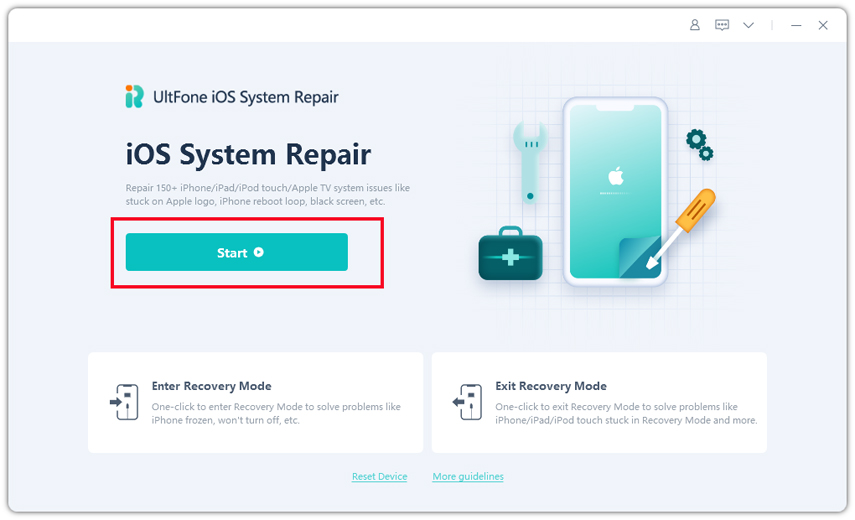
It happens to a lot of users that they enter the DFU mode in order to fix a problem and get stuck instead. If you are also one of those users whose iPhone 7 is stuck in DFU mode, then we recommend using UltFone iOS System Repair tool. It will be the easiest fix for you to get out of DFU mode without losing your device data. The Repair Operating System feature of the software is capable of handling more than 50 different kinds of software related issues on iOS devices.
So, we suggest you download and install the software from the official website. Once the software is ready for use, follow the steps below:
-
Step 1: Connect your iPhone with the system and launch the program. From the home interface, select the Repair Operating System feature.

Repair iOS system
-
Step 2. If the software detects that your iPhone is not working properly, just click Fix Now to start fixing it.

Fix now
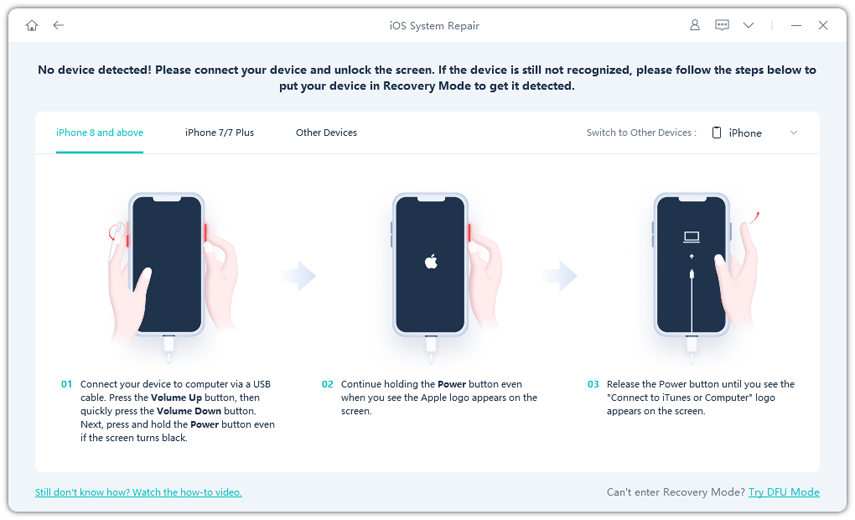
NOTEIf the program can’t detect your phone, just follow the instructions on the screen to put your iPhone in recovery mode or DFU mode.

Put iPhone in recovery mode
-
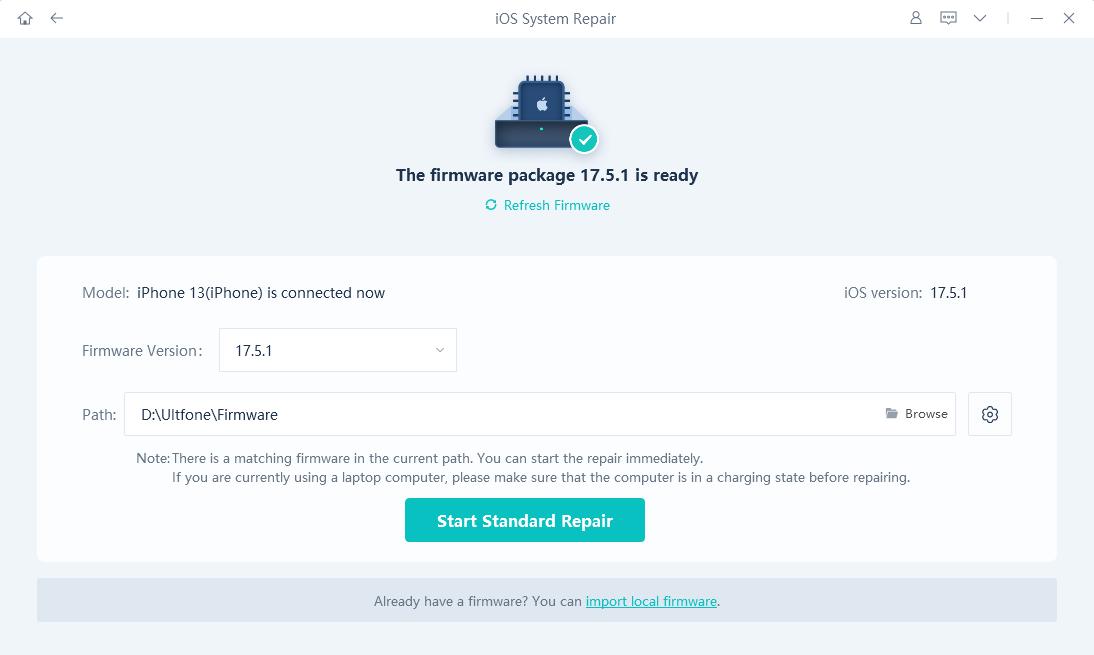
Step 3: Prior to repair, the software will ask you to download a firmware package file that is suitable for your device. Click on the “Download” button and wait as the file is downloaded. The software will also verify the package at the same time.

Download firwmare package
-
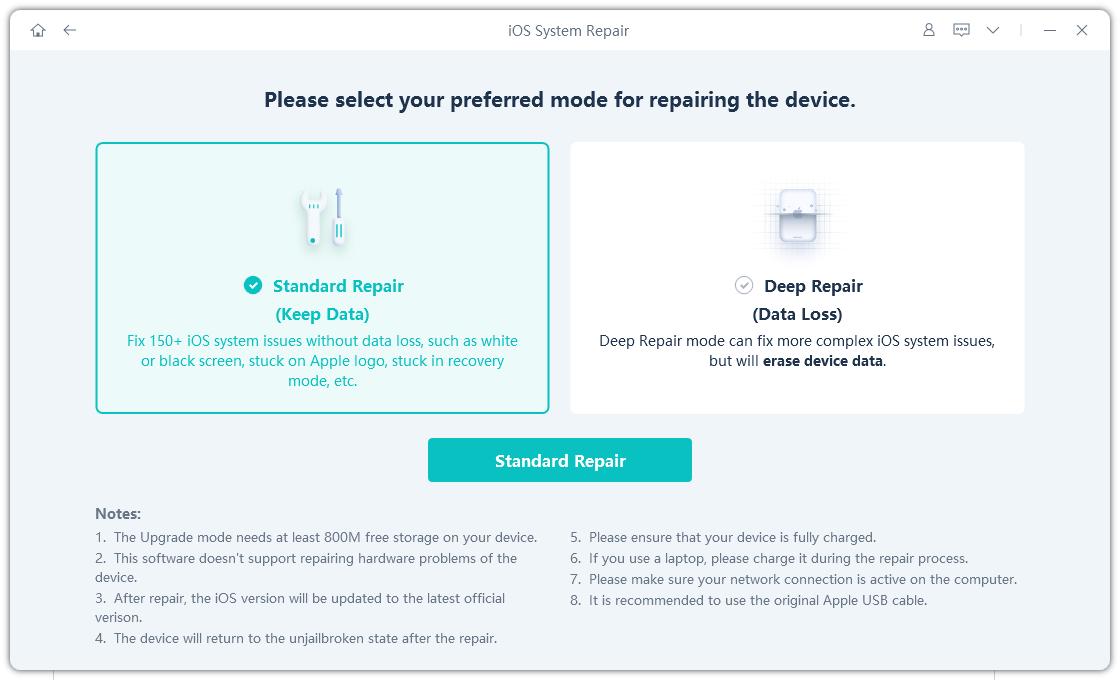
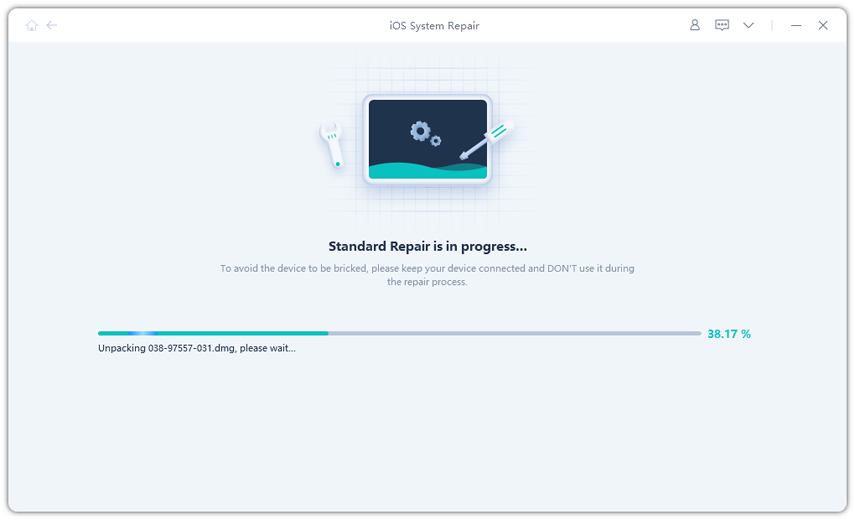
Step 4: Start the repair process by clicking on the “Repair Now” button, and UltFone iOS System Repair will get your device out of the DFU mode safely.

Repairing iOS system
This tool is capable of fixing all software related problems on your device without causing data loss. That’s why users turn towards Any Data Recovery for help under such circumstances.
Wrap It Up
In this guide, we learned how to enter and exit DFU mode in iPhone 7 in detail. So, from now on, whenever you get stuck in such situations, you know what to do. Furthermore, you can use UltFone iOS System Repair tool to fix other issues in the Apple devices as well.


