How to Fix Photos Didn't Transfer to New iPhone 15/16/17? Quick Transfer Here
 Jerry Cook
- Updated on 2025-09-15 to Transfer
Today, due to various reasons, photo transfer between cross platform and cross brand devices is not so easy. Once we choose the wrong method to transfer, various problems may arise, such as photos didn't transfer to new iPhone 15/16/17, compatibility issues after transfer, image compression, and unknown errors or bugs that may even mistakenly delete all photos on our device, making it impossible to retrieve them.
This can be a frustrating experience, especially if you're not sure why didn't all photos transfer to new iPhone 15/16/17. Considering this, choosing a reliable transfer tool becomes extremely important. In this article, we'll go over the possible reasons why photos didn't transfer to new iPhone 15/16/17 and provide solutions to help you resolve the issue.
- Part 1: Why Didn't All My Photos Transfer to My New iPhone 15/16/17
- Part 2: Solutions to Fix My Photos Didn't Transfer to New iPhone 15/16/17 from Android
- Part 3: Solutions to Fix Some Photos Didn't Transfer to New iPhone 15/16/17 from iPhone
- Part 4: FAQs about Photo Transfer
Part 1: Why Didn't All My Photos Transfer to My New iPhone 15/16/17
Want to why my photos didn't transfer to new iPhone 15/16/17 or why didn't all my photos transfer to my new iPhone? There are several reasons why all photos didn't transfer to new iPhone. Some of the most common reasons include:
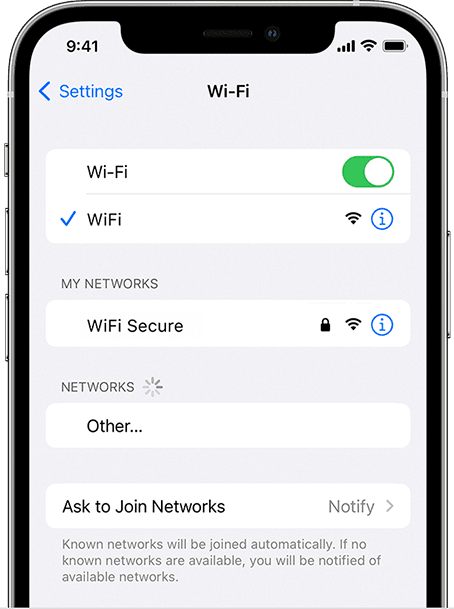
- Poor network connection
- Wrong Apple ID account
- Insufficient device/iCloud storage
- Photos are lost or corrupted before transmission
- Hardware issues/iPhone bugs
- Mobile device management (MDM) policies
Part 2: Solutions to Fix My Photos Didn't Transfer to New iPhone 15/16/17 from Android
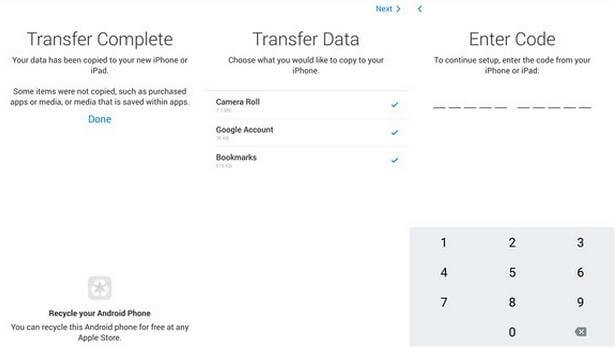
2.1 Move to iOS
If you're moving from an Android device to an iPhone 15/16/17, the Move to iOS app can help you transfer your data, including your photos. While before you start, you should know the conditions for using Move to iOS first:
- Your iPhone 15/16/17 needs to be reset. If your iPhone has already been set, this will cause all existing data to be lost, we recommend you to use another method mentioned in this article.
- Need to install APP on both Android and iPhone 15/16/17.
- Androids run Android 4.0 or higher, and iPhones run iOS 9.0 and higher.
- Android devices and iPhones use the same Wi-Fi network.
- Sufficient storage space and sufficient power on both devices.
- Stable connection, won't be uninterrupted. If you receive a call while Move to iOS is running, the transfer will be interrupted and fail.
If your transfer meets all the conditions above, you can refer to the following steps to transfer your photos:
Step 1: Set up your new iPhone 15/16/17 until you reach the "Apps & Data" screen.
Step 2: Tap on "Move Data from Android".
Step 3: On your Android device, download and install the Move to iOS app from the Google Play Store.
Step 4: Open the Move to iOS app and tap "Continue".
Step 5: Agree to the terms and conditions and tap"Next".
Step 6: On your iPhone 15/16/17, tap "Continue" on the"Move from Android" screen and wait for a ten-digit code to appear.

Step 7: Enter the code on your Android device, tap "Next" and wait for the transfer process to begin.
Step 8: Once the transfer is complete, you can proceed with the iPhone 15/16/17 setup process.
2.2 UltFone Phone Transfer
Why didn't my photos transfer to my new iPhone 15/16/17 from Android and how to fix?
If unfortunately, your transfer does not meet the conditions above, don't worry. Another better solution to consider is UltFone Phone Transfer, a secure phone-to-phone solution that allows you to transfer photos from Android to iOS devices.
This software makes it easy to solve the problem, photos didn't transfer to new iphone 15 with just a few clicks. With UltFone Phone Transfer, you can experience zero data loss and a smooth transfer. Importantly, you do not need to reset your device, there is no data loss. It also ensures that you have a smooth and successful photo transfer experience. Follow these simple steps to transfer photos to iPhone uisng UltFone Phone Transfer .
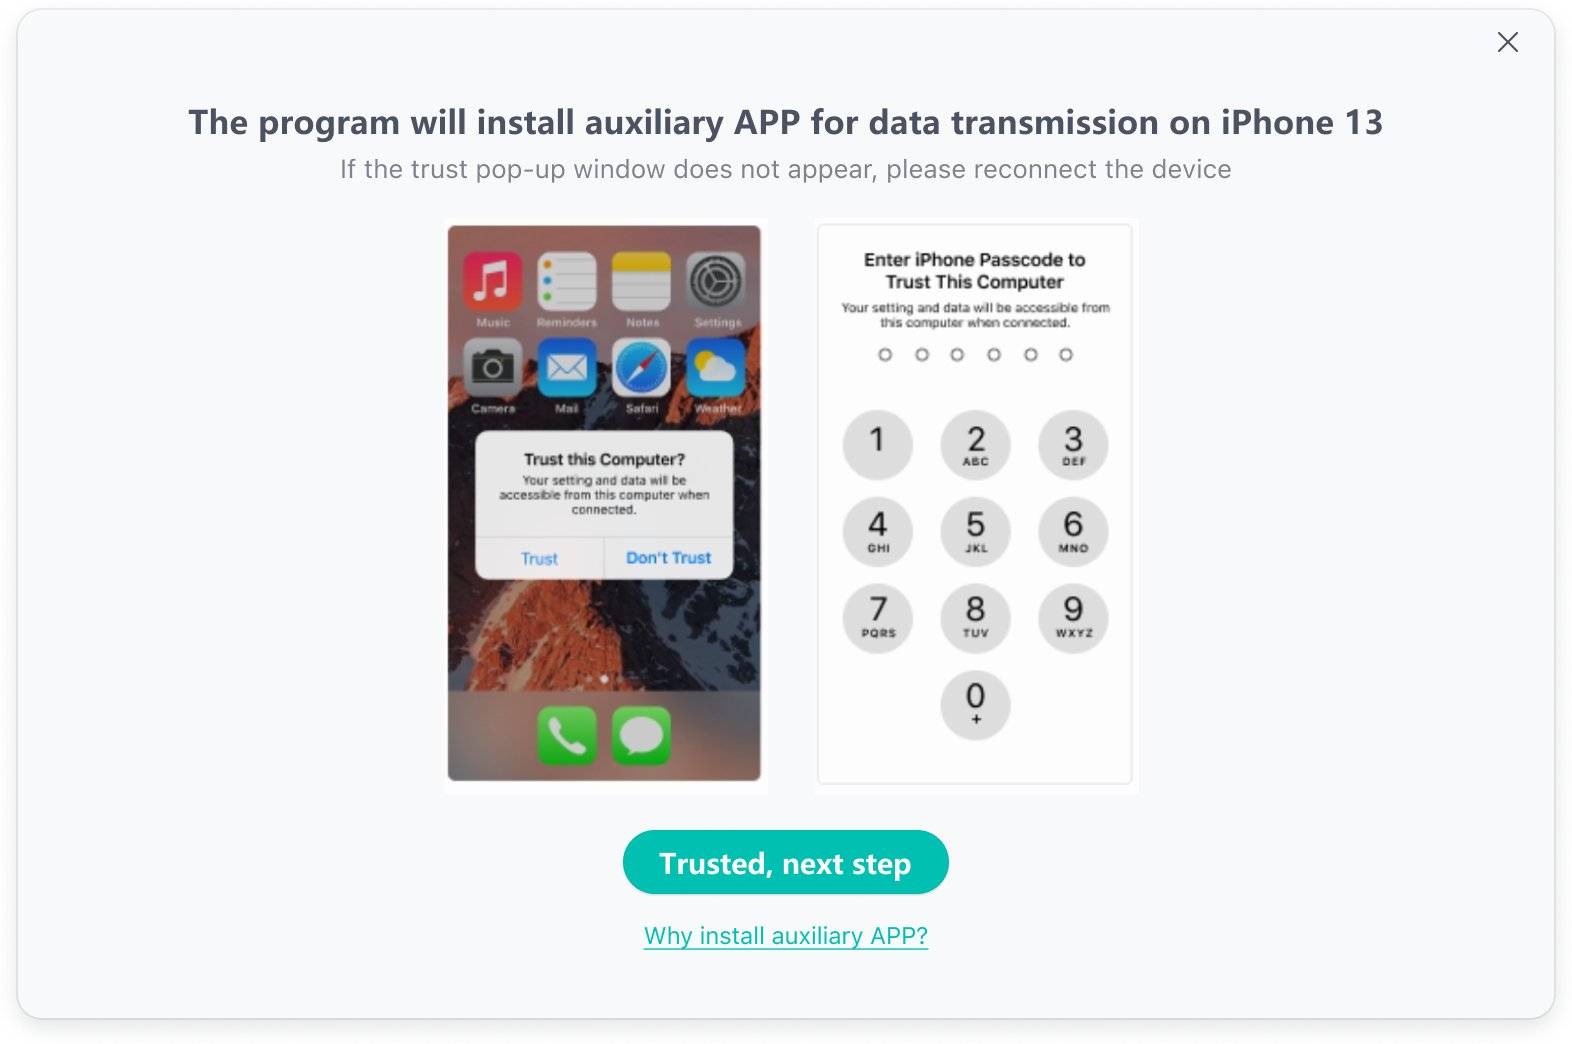
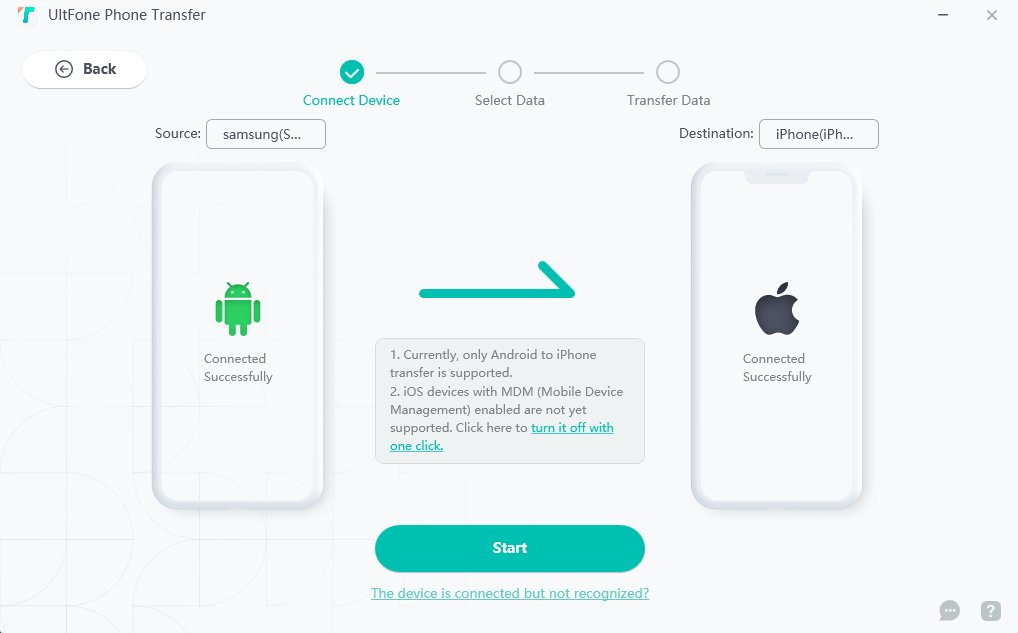
- Step 1 Connect your Android device to your PC/Mac. Allow the auxiliary APP to install on your device.
- Step 2 Connect your iPhone 15/16/17 to your PC/Mac and authorize.
- Step 3 Click the Start button when it is clickable.
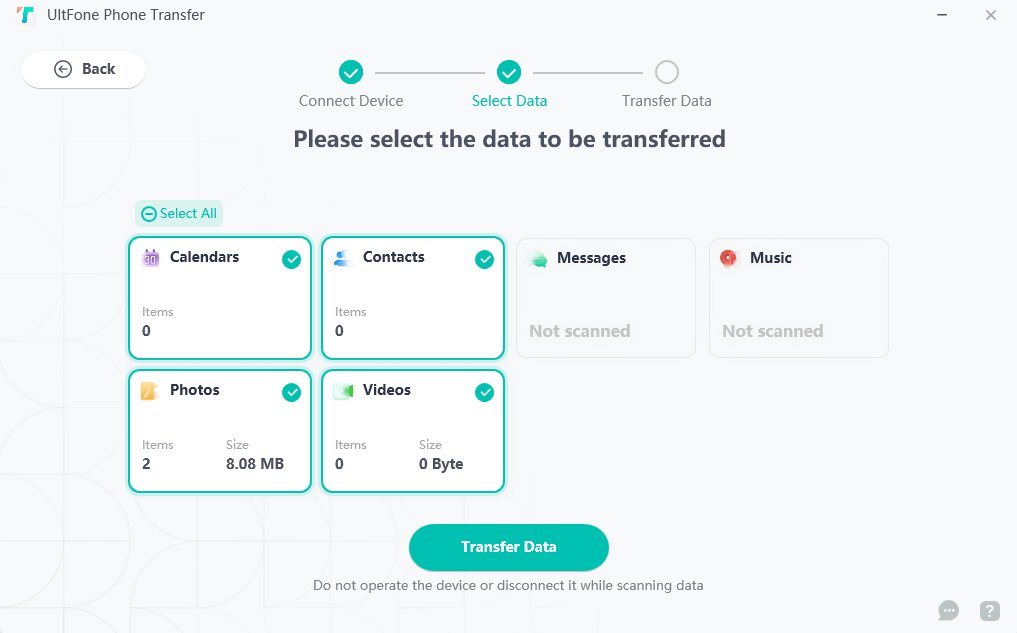
- Step 4 Select the data, "Photos" to scan the pictures on your Android and click Start Scan. Please rest assured that UltFone only scans this type of data and won't touch your other data.
- Step 5 When the scanning process is complete, Click Transfer Data. Then your data will be transferred and you've successfully solved the problem of iPhone 15/16/17 didn't transfer all photos.

With this tool, you can transfer data selectively and solve the problem of not all photos transferred to new iPhone 15/16/17 from Android easily.

Part 3: Solutions to Fix Some Photos Didn't Transfer to New iPhone 15/16/17 from iPhone
3.1 AirDrop
If you're trying to transfer photos from one iPhone to another but you are having issues about not all photos transferred to new iPhone 15/16/17, AirDrop is an alternative solution. With it, you can access your photos from any device, including your new iPhone.
To use AirDrop, it is necessary to know the following:
- You need to make sure that both iPhones have Bluetooth turned on and are within Bluetooth and Wi-Fi range.
- If the personal hotspot is turned on on any mobile phone, it needs to be turned off first.
- Need to provide iPhone's Apple ID email address or mobile phone number for AirDrop to work.
- Airdrop only supports Apple devices. If you are more accustomed to using a Windows computer, you can consider the next method.
Follow these steps to fix the issue of some photos didnt transfer to new iPhone 15/16/17:
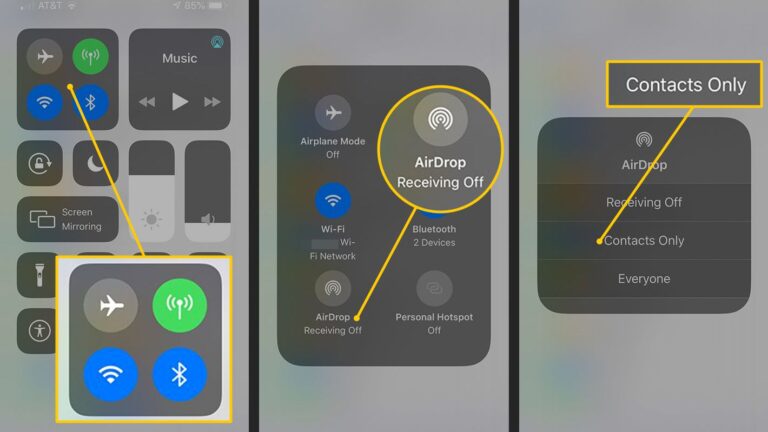
Step 1: Swipe down on the home screen and turn on Bluetooth, WiFi, and AirDrop icons from the Control Center.
Step 2: Make sure personal hotspot is turned off in Settings.
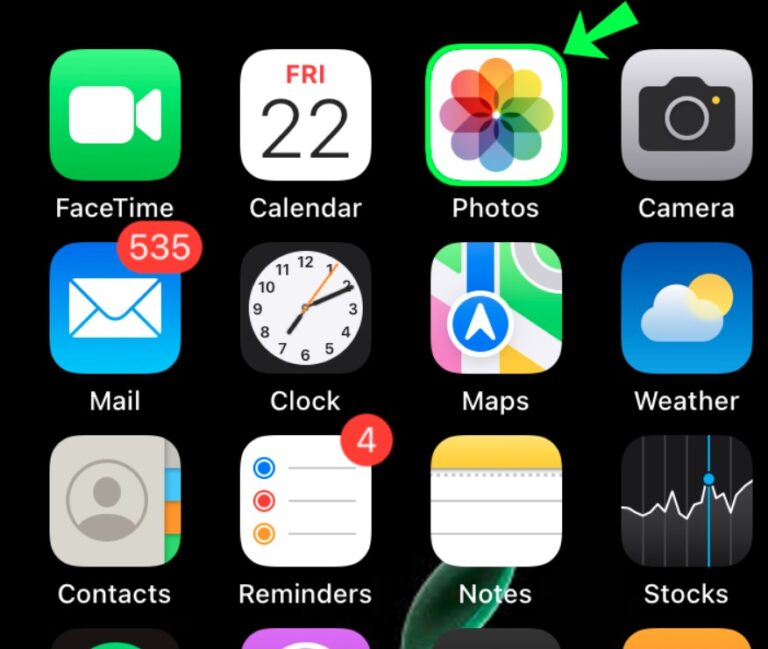
Step 3: Open the Photos app.
Step 4: Select the photo(s) you want to AirDrop.
Step 5: Tap the share icon located at the bottom left of your screen.
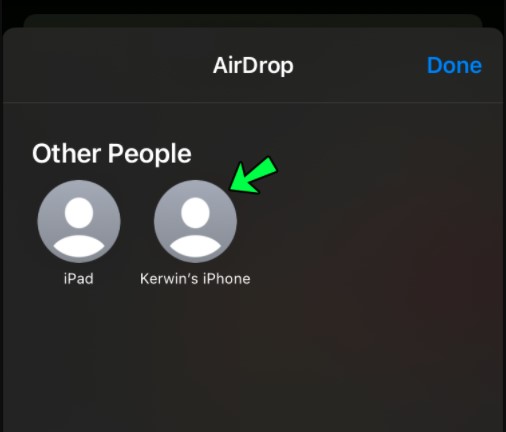
Step 6: Choose the AirDrop option from the share menu to send the photo(s).
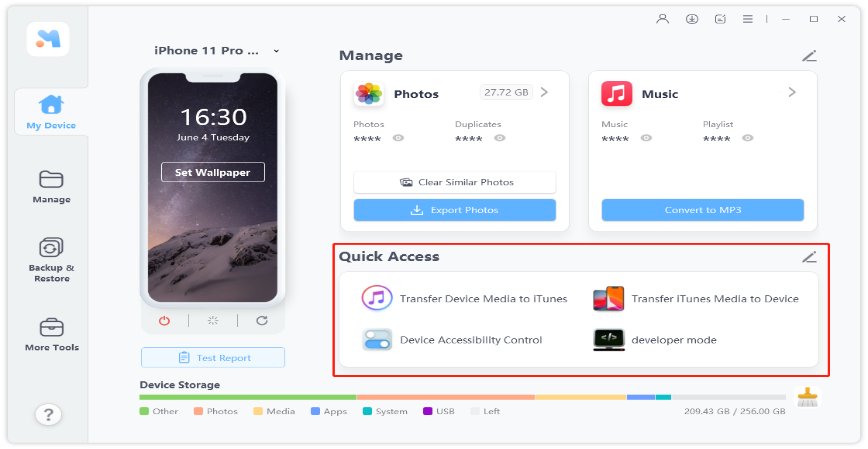
3.2 UltFone iOS Data Manager
When it comes to solving the problem of not all photos transferred to new iPhone 15/16/17, UltFone iOS Data Manager is a tool worth considering. Not only can it transfer data between two iPhones, but it also has many advantages over Dropbox. For example, it allows you to transfer device data to your computer for easy management.
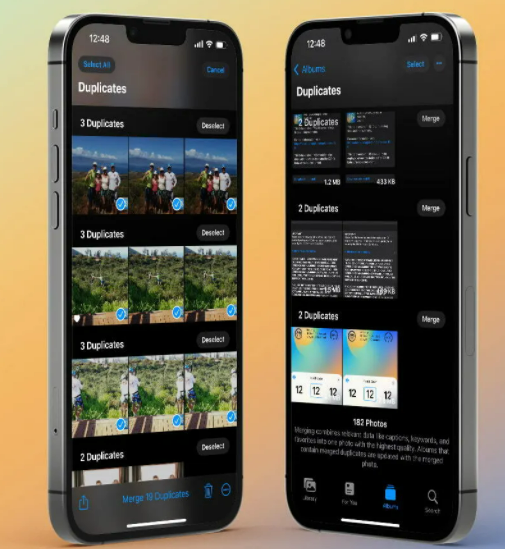
Additionally, the software can detect duplicate photos on your iPhone and delete them, freeing up space for new photos. The process of transferring data with UltFone iOS Data Manager is simple and can be completed in just a few clicks. It also supports transferring a wide range of data types, including photos, videos, music, contacts, messages, and more. It meets all your iPhone data management needs.
Here are the steps to transfer photos from your old iPhone to your new iPhone 15/16/17 using UltFone iOS Data Manager:
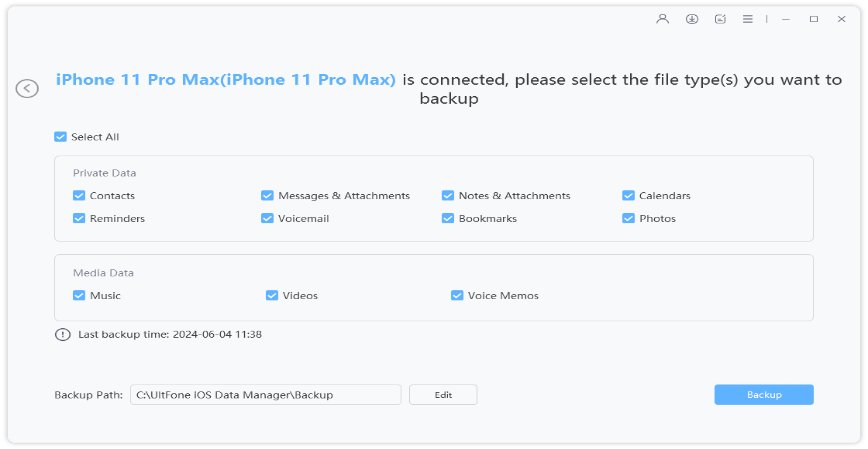
- Step 1 Connect your iOS device to computer, tap "Backup & Restore" and click "Backup" button.
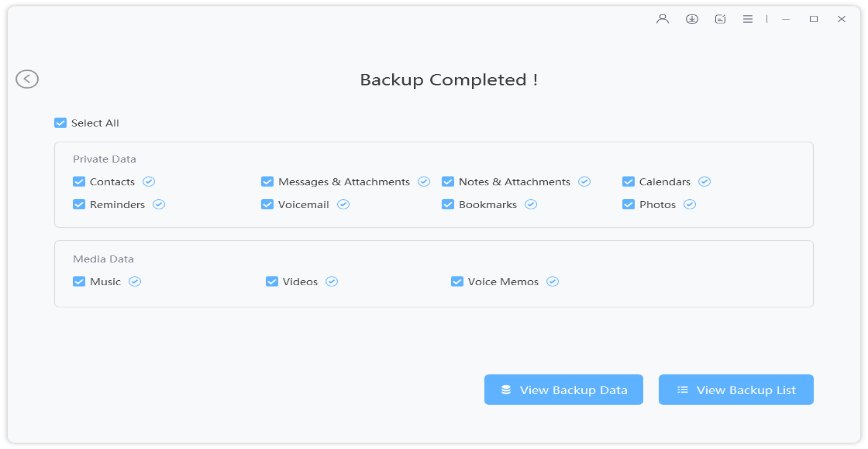
- Step 2 After the backup process, you can view backup data or view backup list.
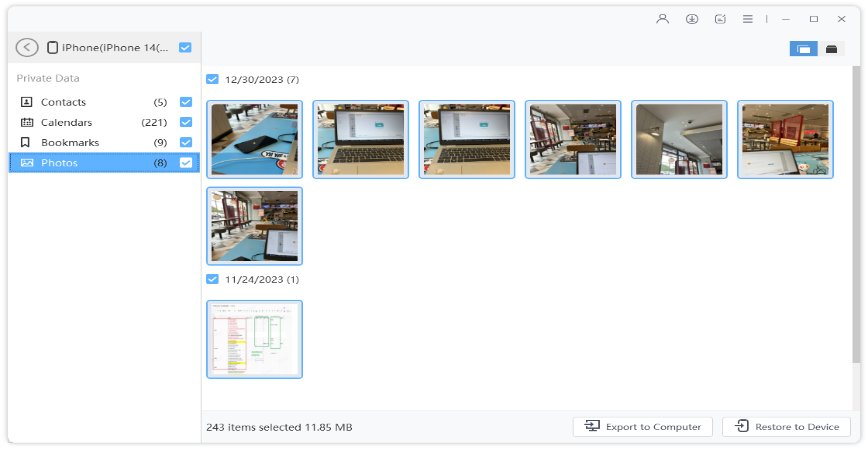
- Step 3 Connect your iOS device to computer, and click "To view or restore previous backup files" on the left bottom. Choose a previous backup you want to restore and click "View".
- Step 4 UltFone iOS Data Manager will extract all files from the selected backup. You can choose the data you want to restore and click "Restore to Device" or "Export to Computer".
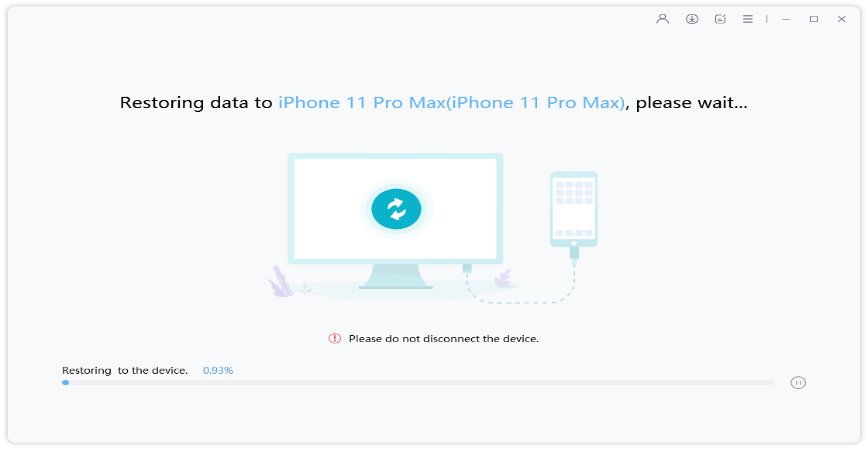
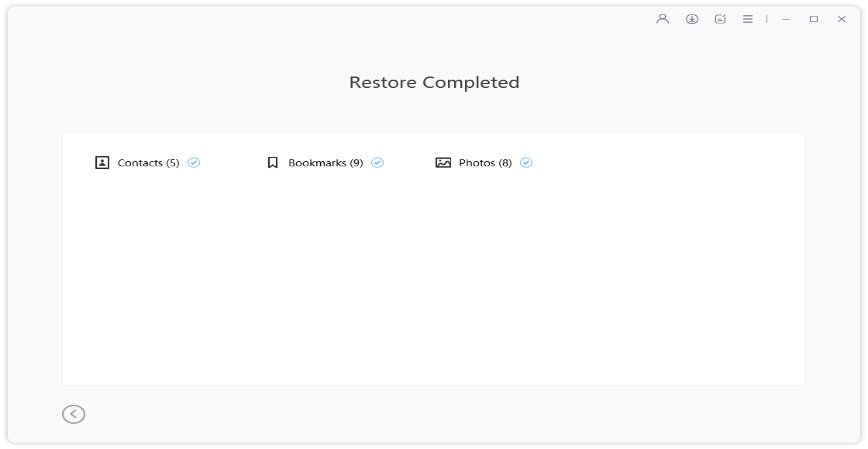
- Step 5 Please wait patiently while restoring data to your device.
- Step 6 Now, your backup files have been restored to your device successfully!

Part 4: FAQs about Photo Transfer
1. Will hidden photos transfer to a new iPhone 15/16/17?
The hidden photos in the iPhone 15/16/17 need to be set by turning off permissions. Find the relevant application in the settings and adjust the permissions to achieve the hidden function. After opening the permission, you can transfer your data.
2. Why didn't my photos transfer to my new phone in iCloud?
There are several reasons why your photos might not have transferred to your new iPhone through iCloud or iCloud photos not transferring to new iPhone, such as a poor network connection, insufficient iCloud storage, or an outdated version of iOS. It's essential to ensure that both devices are connected to a stable Wi-Fi network and have enough storage space before initiating the transfer process.
3. Can you transfer iPhone 15/16/17 photos to Google Drive via Chromebooks?
Yes, you can transfer iPhone photos to Google Drive via Chromebooks. To do so, connect your iPhone 15/16/17 to your Chromebook via USB, and then upload the photos to Google Drive using the Chrome browser.
4. Why didn't all my photos transter to Google Photos?
Photos not transferring completely to Google Photos can be due to various reasons. Incorrect settings, connectivity issues, incompatible file formats, storage limitations, sync delays, and user errors are possible factors. Ensure the correct transfer settings are enabled, a stable internet connection is available, and the photos are in a compatible format. Check if you've exceeded the free storage limit and consider freeing up space or expanding storage. Give it some time for potential sync delays. Double-check if any photos were accidentally skipped.
Conclusion
By understanding the possible reasons and exploring the available solutions, you can find the right approach to solve photos didn't transfer to new iPhone 15/16/17.
If you failed to transfer photos from Android to iPhone 15/16/17, UltFone Phone Transfer is an excellent option that can make the process easy and efficient. If not all photos transferred from iPhone to iPhone, UltFone iOS Data Manager is a highly recommended solution. With these solutions, you can easily transfer all of your precious memories to your new iPhone and enjoy them without any hassle.


