UltFone Android System Repair is professionally designed for Android users to enter and exit recovery mode, fastboot mode, and download mode in the best way and free of charge. In addition, this program can solve all kinds of Android issues like Android/Samsung phone won't turn on, Samsung black screen, apps keeps crashing on Samsung, etc.
Follow this guide to learn how to fix Android to normal.
Part 1: Enter/Exit Android Fastboot Mode
1-Click to Enter Fastboot Mode
Fastboot is a tool/protocol that can be used to reflash partitions on Android phones. It is this small tool that comes with the Android SDK (Software Developer Kit), which is an alternative to the recovery mode. Follow the steps below to boot Android into Fastboot mode.
Step 1. Launch UltFone Android System on your computer and connect your Android device to computer. Choose the feature "One-Click to Enter Fastboot Mode" on the main interface.


Step 2. Turn on USB debugging option on your device. If your device has not enabled this option, you can follow the onscreen instructions by selecting the the phone series or brand. This program will detect your phone brand and show the steps to enable USB debugging accordingly.

Enble USB debugging on Android 6.0 or later:
Enter "Settings" >>> Click "About Device" >>> Click "Software info" >>> Tap "Build number" for 7 times until getting a note "You are under developer mode" >>> Go back to "Settings" >>> Click "Developer options" >>> Turn on "USB debugging".

Enble USB debugging on Android 4.2 to 5.2:
Enter "Settings">>> Click "About Device" >>> Tap "Build Number" for 7 times until getting a note "You are under developer mode" >>> Go back to "Settings">>> Click "Developer options" >>> Turn on "USB debugging".

Enble USB debugging on Android 3.0 to 4.1:
Enter "Settings" >>> Click "Developer options" >>> Turn on "USB debugging".

Enble USB debugging on Android 2.3 or earlier:
Enter "Settings" >>> Click "Applications" >>> Click "Development" >>> Turn on "USB debugging".

If you are not sure the Android OS, you can click "More specific USB debugging settings>>" from the top right menu, where you can choose the phone brand for continue instructions.


It is worth mentioning that the Samsung devices don't have Fastboot mode.

Step 3. After enabling USB debugging, your device will start entering Fastboot mode.

In a few seconds, your Android has entered into Fastboot mode successfully.

One Click to Exit Android Fastboot Mode
If your Android is stuck in Fastboot mode, follow the steps below to exit Fastboot mode.
Step 1. Launch this program on your computer, connect the Android device to computer then click "One-Click to Exit Fastboot Mode" from the main interface.

Step 2: Wait for the program to get Android out of Fastboot mode.

Step 3: In a short time, your Android has exited Fastboot mode successfully.

Part 2: Enter and Exit Android Recovery Mode
One Click to Enter Android Recovery Mode
You don't need to know the different keys to press in order to access recovery mode on your device. Use UltFone Android System Repair to get into recovery mode on Android by one click on any device.
Step 1. Download and run this program, connect your device to computer via a USB cable.

Step 2. Turn on USB debugging option on your device. This program will detect your phone brand and show the steps to enable USB debugging accordingly.
Enble USB debugging on Android 6.0 or later:
Enter "Settings" >>> Click "About Device" >>> Click "Software info" >>> Tap "Build number" for 7 times until getting a note "You are under developer mode" >>> Go back to "Settings" >>> Click "Developer options" >>> Turn on "USB debugging".
Enble USB debugging on Android 4.2 to 5.2:
Enter "Settings">>> Click "About Device" >>> Tap "Build Number" for 7 times until getting a note "You are under developer mode" >>> Go back to "Settings">>> Click "Developer options" >>> Turn on "USB debugging".
Enble USB debugging on Android 3.0 to 4.1:
Enter "Settings" >>> Click "Developer options" >>> Turn on "USB debugging".
Enble USB debugging on Android 2.3 or earlier:
Enter "Settings" >>> Click "Applications" >>> Click "Development" >>> Turn on "USB debugging".
If you are not sure the Android OS, you can click "More specific USB debugging settings>>" from the top right menu, where you can choose the phone brand for continue instructions.
Step 3. Now, you can click "One-Click to Enter Recovery Mode" on the program to start.

Step 4. The program will start entering recovery mode.

Your Android has entered into recovery mode successfully after a few seconds.

How to Exit Android Recovery Mode
If your Android is stuck in recovery mode or you are having the "No Command" error, follow the steps below to exit recovery mode.
Step 1. Launch this program and connect your device to computer via the USB cable. Choose "Exit Recovery Mode" feature from the main interface.

Step 2. On the next screen, choose your phone brand and follow the onscreen steps to get out of recovery mode.
Exit recovery mode on Samsung

Exit recovery mode on Huawei

Exit recovery mode on other Android devices

Part 3: Enter and Exit Android Download Mode
How to Enter Download Mode on Android
Download Mode, also known as Odin Mode, is commonly used for flashing ROM or performing the system update. Follow the steps below to enter download mode on Samsung easily.
Step 1. Launch this program and connect your device to computer via the USB cable. Choose "Enter Download Mode" feature from the main interface.
Step 2. Choose your phone brand and follow the onscreen instructions to enter the download mode.
Enter download mode on Samsung with Home button

Enter download mode on Samsung without Home button

Enter download mode on Huawei

Step 3. After a few seconds, the program starts connecting your device.

Step 4. Your device is in download mode successfully.

One Click to Exit Download Mode
If your Android or Samsung stuck on "Downloading… Do not turn off target" screen, you can get it out of download mode by one click with the help of UltFone Android System Repair.
Step 1. Install and open this program on your PC. Connect your device to computer and select "One-Click to Exit Download Mode" function.

Step 2. Your device is out of download mode successfully after a few seconds.

Part 4: Repair Android System
If your new Samsung S20 won't turn on or charge after an update, you can use UltFone Android System Repair tool to solve it without losing data.This software aims to solve 50+ Android issues efffectively, including Android/Samsung phone won't turn on, Samsung boot loop, Samsung stuck on logo, etc.
Download and install this program to a PC, and follow the easy steps below to fix Android to normal.
Setp 1.Connect Device
Connect your device to computer with a USB cable, and choose "Repair Android System" function from the main interface.

Step 2. Click Repair Now to Proceed
In the next screen, please click the "Repair Now" button to continue.

Step 3. Select Your Device Info
Before continue, please select the correct device information in turn on the screen.This is important as any wrong info may cause your device to be bricked.

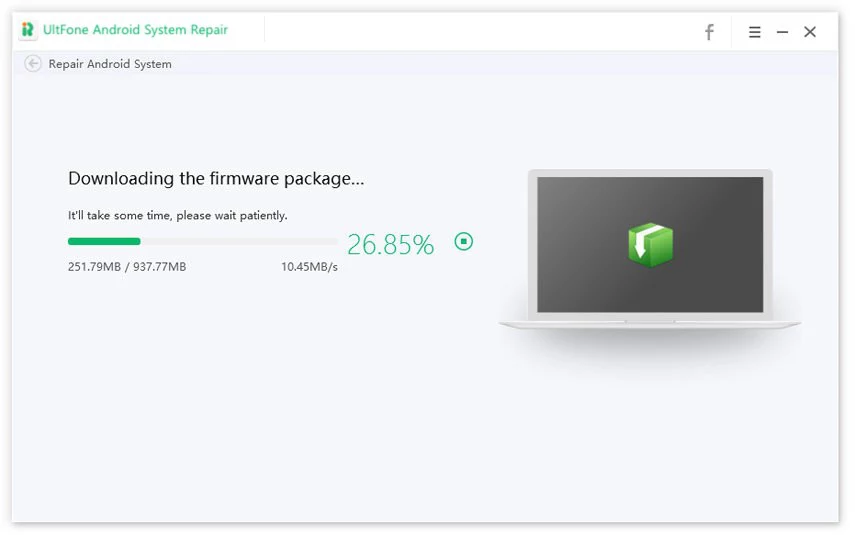
Step 4. Download Firmware Package
After selecting the correct device info, this program will start downloading the corresponding firmware package.
Step 5. Start Android System Repair
The firwmare package downloading takes a few minutes. You can click Repair Now button after the firmware is downloaded successfully.

Before the system repairing start, please read the tips on the screen to ensure repair success. Click Continue button to continue.

Next, you need to put your device into download mode to launch the repair process.


Once the program detects that your device is in download mode successfully, the repairing process starts automatically.
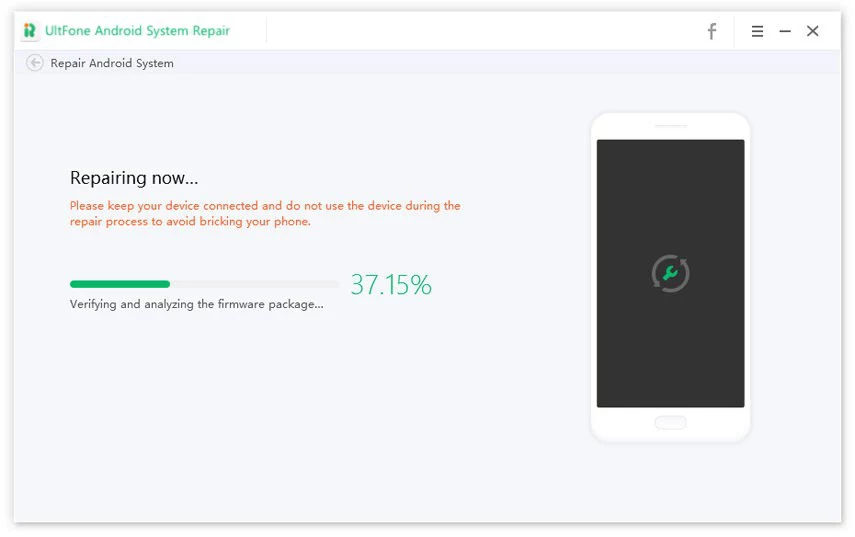
Step 6. Android System Repair Completed
The process takes 10 minutes around. Your Android device will reboot to normal after the repair process completes.

Part 5: One Click to Clear System Cache
As you may know, Android OS uses partitions to organize files and folders on your device. One of these partitions is the system cache, which can enable faster access when using apps.But cached files can become corrupted or overloaded and cause performance issues. Periodically clearing the cache on Android phone can help eliminate performance issues on the device.
Step 1.Launch this program on your computer,and connect your Android phone to computer with a USB cable.
Step 2. If your phone is not turned on USB debugging,please follow the steps to enable it. This program will detect your phone brand and show the steps to enable USB debugging accordingly.
Enble USB debugging on Android 6.0 or later:
Enter "Settings" >>> Click "About Device" >>> Click "Software info" >>> Tap "Build number" for 7 times until getting a note "You are under developer mode" >>> Go back to "Settings" >>> Click "Developer options" >>> Turn on "USB debugging".
Enble USB debugging on Android 4.2 to 5.2:
Enter "Settings">>> Click "About Device" >>> Tap "Build Number" for 7 times until getting a note "You are under developer mode" >>> Go back to "Settings">>> Click "Developer options" >>> Turn on "USB debugging".
Enble USB debugging on Android 3.0 to 4.1:
Enter "Settings" >>> Click "Developer options" >>> Turn on "USB debugging".
Enble USB debugging on Android 2.3 or earlier:
Enter "Settings" >>> Click "Applications" >>> Click "Development" >>> Turn on "USB debugging".
If you are not sure the Android OS, you can click "More specific USB debugging settings>>" from the top right menu, where you can choose the phone brand for continue instructions.
Step 3. Once the device is recognized, you can click "One-Click to Clear System Cache" on the interface.

Step 4. This program will start clearing system cache on Android.

Step 5. The process won't take too long. The cached data has cleared successfully.
